

A loose mower belt leads to poor cutting performance and potential mechanical damage. By learning how to tighten a riding lawn mower belt, you can restore power to your blades and extend the life of your equipment through simple, routine maintenance.
There is nothing quite as frustrating as heading out on a beautiful Saturday morning to mow the lawn, only to find that your riding mower is struggling. Maybe the blades sound weak, or perhaps you notice patches of uncut grass hiding behind the mower deck.
Often, the culprit isn’t a broken engine or a dull blade, but a loose drive belt. Learning how to tighten a riding lawn mower belt is a fundamental skill for any homeowner looking to save money and keep their equipment running smoothly.
As we move into 2026, lawn care technology has advanced, but the basic mechanical principles of belt-driven mower decks remain the same. A belt provides the connection between your engine’s power and the cutting blades. When that belt loses its grip, power transfer drops significantly. By following this guide, you can handle this maintenance task yourself without needing to haul your heavy mower to a service shop.
Key Takeaways
- Identify the Problem: Recognize signs of a loose belt, such as slipping, squealing noises, or grass left uncut.
- Safety First: Always disconnect the spark plug wire before working on the mower deck to prevent accidental startups.
- Belt Tensioning Systems: Understand whether your mower uses an adjustable idler pulley or a spring-loaded tensioner system.
- Inspection is Critical: A belt that seems loose may actually be worn out or stretched; always check for cracks or glazing before attempting to tighten it.
- Professional Calibration: If tightening the belt does not resolve the issue, consult your owner’s manual for specific deck leveling or pulley alignment instructions.
Recognizing the Signs of a Loose Mower Belt
Before you pick up your tools, you need to be sure the belt is the actual problem. Many people jump to conclusions about engine health, but the belt is usually the first point of failure. If you hear a high-pitched squealing sound when you engage the blade deck, that is a classic sign of slippage. This happens when the belt is too loose to grip the pulleys firmly, causing friction and heat.
Visual Inspection and Feel
To check the belt, first ensure the mower is parked on a flat, level surface. Remove the ignition key and disconnect the spark plug wire. Once you can safely access the deck, push down on the middle of the belt run. A healthy, properly tensioned belt should have about one-half inch to one inch of “play.” If the belt feels floppy or you can easily push it several inches, it is time to tighten it.
Common Performance Indicators
Pay attention to how the mower acts during operation. If you feel like the mower “bogs down” even in light grass, the belt might be slipping under load. Furthermore, look at the underside of your mower deck.
If the belt shows signs of glazing – where it looks shiny or burnt it is likely slipping and generating excessive heat. A worn belt cannot be tightened indefinitely, so sometimes replacement is the safer, smarter choice.
Preparing Your Workspace for Maintenance
Safety is the most important part of home mechanics. You should never attempt to adjust your mower while the engine is hot or the battery is connected. Start by clearing a workspace in your garage or driveway. You want plenty of light and a solid, non-slip surface.
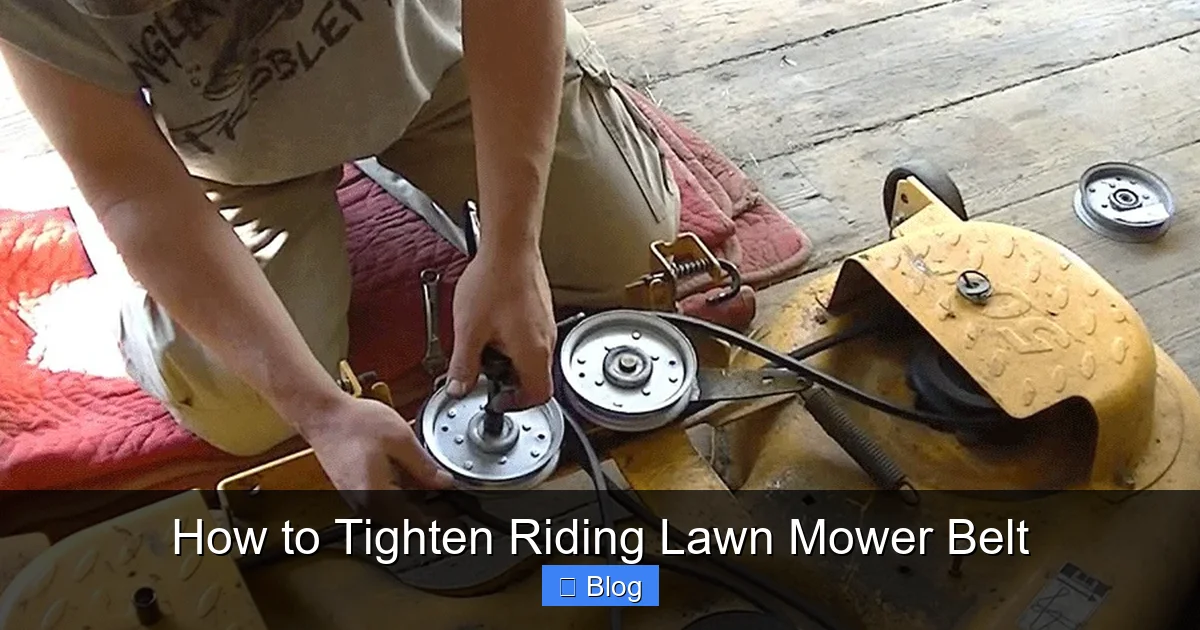
Visual guide about How to Tighten Riding Lawn Mower Belt
Image source: mowersboy.com
Essential Tools You Will Need
You don’t need a professional garage to tighten a riding lawn mower belt. Most models require only a basic socket set, an adjustable wrench, and perhaps a pair of pliers. Because 2026 mower models often feature tool-less access panels, you might find that you don’t need much hardware at all. However, having a flashlight handy is vital to see deep into the dark corners of the mower deck pulleys.
Safety Protocols
Always engage the parking brake before you begin. Even if the mower is off, the deck can shift if not secured. Additionally, consider using a pair of work gloves. Pulleys and deck brackets can have sharp edges, and a slip could lead to a nasty cut. Finally, double-check that the blade engagement lever is in the “off” or “disengaged” position so that the tensioner spring is not under load while you are working.
Understanding Your Mower’s Tensioning System
Not all mowers are built the same. Understanding how your specific model handles belt tension is key to success. In 2026, most riding mowers utilize one of two common systems: the automatic spring-loaded tensioner or the manual adjustable pulley bracket.
The Automatic Spring-Loaded Tensioner
Many modern riders use a heavy-duty spring attached to an idler pulley. This system is designed to maintain constant tension as the belt stretches over time. If your belt is loose with this system, the spring may be weakened or stretched out. In this case, “tightening” the belt often involves replacing the spring rather than adjusting a bolt. It is a simple fix that restores the factory-spec tension immediately.
The Manual Adjustable Bracket
If you have an older mower or a commercial-grade unit, you might have an adjustable bracket. This setup involves loosening a bolt, moving the pulley or the deck housing slightly to take up the slack, and then tightening it back down. This gives you more control over the exact tension, but requires a bit more trial and error to get it just right.
Step-by-Step: How to Tighten the Belt
Now, let’s get into the actual work. Follow these steps carefully to ensure you don’t over-tighten, which can lead to snapped belts or damaged pulley bearings.
Step 1: Accessing the Deck
Depending on your mower, you may need to remove the deck cover or lower the deck to its lowest setting. For some models, it is easiest to remove the entire mower deck from under the chassis. This gives you clear access to all pulleys and belts. If you choose this route, be sure to use jack stands if you have to lift the front of the mower.
Step 2: Adjusting the Tensioner
If you have a manual adjustment system, locate the bolt holding the idler pulley in place. Loosen it just enough so that the assembly can slide. Move the pulley in the direction that puts more pressure on the belt. Once you feel the belt is taut—but still has that vital half-inch of play—hold the assembly firmly and tighten the bolt securely.
Step 3: Checking Alignment
A belt that is tight but misaligned will pop off the pulleys during the first turn. Ensure the belt is properly seated in the V-grooves of every pulley. Use your fingers to rotate the pulleys slightly to ensure the belt is tracking straight. If the belt is riding on the side of a pulley rather than the center, it will quickly wear out.
Post-Maintenance Testing and Troubleshooting
After you have made your adjustments, you need to verify your work. Reconnect the spark plug wire and ensure all tools are clear of the mower deck. Start the engine and let it idle for a moment before engaging the blades.
The Engagement Test
Engage the blades while standing at a safe distance. If you no longer hear the squealing noise, you are likely in good shape. Keep the mower running for a few minutes and check for any abnormal vibrations. If the mower vibrates significantly more than before, the tension might be too tight, or the belt may not be seated properly in the pulley groove.
What if it is Still Loose?
Sometimes, the belt is simply beyond saving. Belts are made of rubber and fiber; they naturally stretch and harden over time. If you have moved the tensioner to its limit and the belt remains loose, it is time to buy a new one. Replacing the belt is often just as easy as adjusting it, and it will give your mower a “like-new” performance feel for the remainder of the season.
Final Thoughts on Mower Maintenance
Learning how to tighten a riding lawn mower belt is one of those small chores that makes a big difference. It saves you time, prevents mid-mow breakdowns, and helps you understand your machine better.
By performing this check once or twice a season, you ensure your equipment stays reliable. Remember, a well-maintained mower is not just a tool; it is your partner in keeping your yard pristine all year long. Don’t be afraid to get your hands dirty your lawn will thank you for it.
Frequently Asked Questions
How often should I check the tension on my mower belt?
It is a good idea to check your belt tension at the start of every mowing season and then once every 25 to 50 hours of operation. Regular checks help you catch minor stretching before it becomes a performance issue.
Can I over-tighten the belt?
Yes, and it is a common mistake. An over-tightened belt places unnecessary stress on the pulley bearings and the engine crankshaft, which can lead to expensive mechanical repairs.
Is it better to replace or tighten a worn belt?
If a belt is cracked, frayed, or has become “glazed” (shiny and hard), it should be replaced immediately. Tightening a damaged belt will only provide a temporary fix and may lead to a snap while you are mowing.
What if my mower belt keeps slipping after I tightened it?
If the belt continues to slip, check the condition of your pulleys. Worn-out pulley grooves or debris buildup can prevent the belt from gripping, regardless of how much tension is applied.
Do I need to lift the mower to tighten the belt?
For most residential riding mowers, you do not need to lift the unit if you can safely access the deck from the side or remove the protective covers. However, using jack stands is recommended if you need to work underneath the chassis.
Why does my belt make a squealing sound?
The squealing sound is caused by friction between the belt and the pulley. This usually happens when the belt is too loose to rotate the blades, causing it to slip against the spinning engine pulley.