
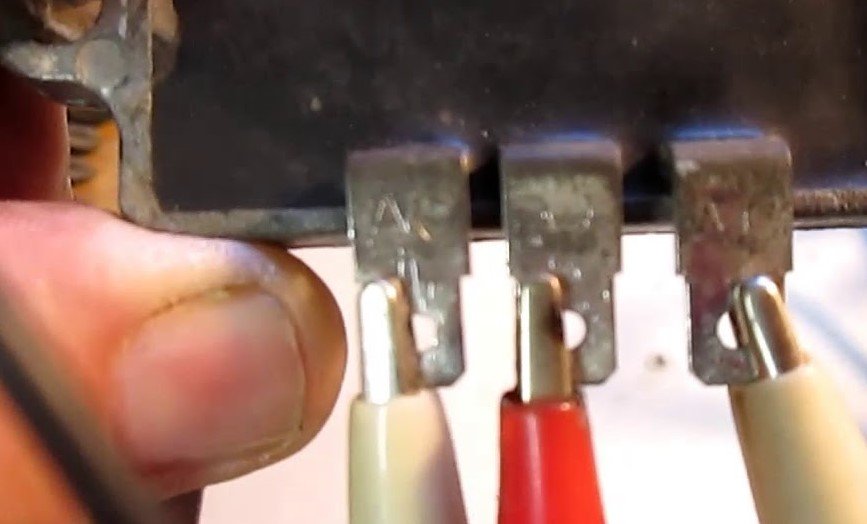
If your mower refuses to start or your battery keeps dying, the culprit is often a faulty voltage regulator. This guide explains exactly how to test a lawn mower voltage regulator using a basic multimeter, ensuring you can troubleshoot your electrical system like a pro without needing a trip to the repair shop.
There is nothing more frustrating than walking out to your shed, turning the key on your lawn mower, and hearing nothing but a pathetic, hollow click. We have all been there. While many people immediately assume the battery is the problem, the electrical system on a modern mower is a bit more complex.
If you have replaced your battery and it still dies after a few uses, you are likely dealing with a charging system failure. Specifically, you need to learn how to test a lawn mower voltage regulator. Think of the voltage regulator as the gatekeeper of your lawn mower’s electrical heart.
Its job is to take the raw, surging power generated by the engine’s alternator and smooth it out into a steady stream of electricity that safely charges your battery. When this little component goes rogue, it either stops charging the battery entirely or, worse, overcharges it and cooks the cells. In this guide, we will walk you through the process of diagnosing this part so you can get back to mowing in no time.
Key Takeaways
- Safety First: Always disconnect the spark plug before inspecting electrical components to prevent accidental starting.
- Use a Multimeter: A digital multimeter is the most reliable tool for measuring DC voltage output from the charging system.
- Battery Health Matters: A bad battery can mimic a bad regulator; ensure your battery holds a charge before testing the charging system.
- Testing Process: You must measure voltage with the engine running at full throttle to get an accurate reading from the regulator.
- Know the Range: A properly functioning regulator typically outputs between 13.5 and 15 volts DC to the battery.
- Visual Inspection: Look for burnt wires, corrosion at the terminals, or a hot smell, as these are signs of immediate failure.
Understanding the Role of the Voltage Regulator
Before we pick up our tools, it is helpful to understand why this part exists. Your lawn mower engine features a charging system, often called a stator or alternator, located under the flywheel. As the engine spins, it generates Alternating Current (AC).
However, your lawn mower battery requires Direct Current (DC) to recharge. The voltage regulator serves two critical functions: converting AC to DC and ensuring that the voltage stays within a safe range.
The Anatomy of the Charging System
The system is relatively simple. You have magnets on the flywheel and copper coils (the stator) mounted near it. As the magnets fly past the coils, they create electrical pulses. These pulses travel to the regulator.
If you didn’t have a regulator, the voltage would spike every time you rev the engine, which would instantly fry your headlights, digital displays, and eventually the battery itself. When you learn how to test a lawn mower voltage regulator, you are essentially checking if this “gatekeeper” is doing its job to protect your machine.
Signs Your Regulator is Failing
How do you know if you should even bother testing it? Usually, the symptoms are quite clear. If you jump-start your mower and it dies as soon as you disconnect the cables, the charging system is not providing any power.
If you notice your battery gets boiling hot or the electrolyte level is constantly low, the regulator is likely overcharging. Sometimes, you might even smell a faint burning plastic odor coming from under the hood. These are all red flags that your regulator is on its way out.
Safety Preparations and Essential Tools
Working on electrical systems is generally safe, but you must respect the machine. The first step in any maintenance task is preparation. You do not need a shop full of expensive equipment to learn how to test a lawn mower voltage regulator. A standard digital multimeter is the only piece of gear you truly need.
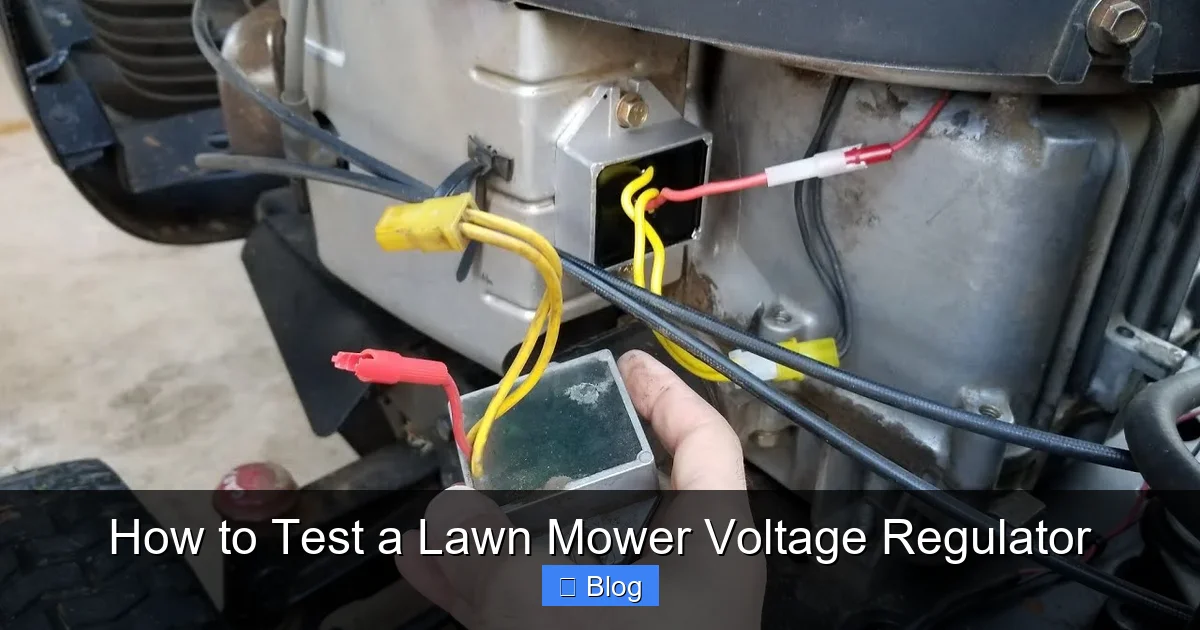
Visual guide about How to Test a Lawn Mower Voltage Regulator
Image source: i.ytimg.com
Gathering Your Equipment
You should have a reliable digital multimeter set to the DC voltage position. You will also need a pair of work gloves, a screwdriver to access the mower deck or engine shroud, and possibly some contact cleaner. If your battery terminals are covered in blue or white crust, grab a wire brush to clean them off first. A bad connection can provide a false reading, leading you to believe the regulator is broken when it is just a dirty cable.
The Safety Checklist
Before touching any wires, make sure the engine is stone cold. More importantly, disconnect the spark plug wire. Even if you aren’t working on the ignition, an accidental engine turnover can be dangerous while your hands are near the flywheel or charging wires. Always work in a well-ventilated area, especially if you are working near a battery that has been charging, as batteries can release flammable gases.
Step-by-Step: How to Test a Lawn Mower Voltage Regulator
Now, let’s dive into the actual process. Testing is straightforward if you take it one step at a time. The goal is to measure the voltage arriving at the battery while the engine is under load. If the voltage remains low, the regulator is not doing its job.
Step 1: Check the Battery Resting Voltage
Start with the engine off. Connect your multimeter probes to the battery terminals: red to positive, black to negative. A healthy, fully charged lawn mower battery should read roughly 12.6 volts. If the battery is sitting at 10 or 11 volts, it is discharged. You should put it on a dedicated trickle charger before testing the regulator, or the test will be inaccurate.
Step 2: Monitor Voltage While Running
Reconnect your spark plug, stand clear of the blades, and start the engine. Let it warm up for a minute. With the multimeter still attached to the battery terminals, observe the reading. At a low idle, you might see 12.8 to 13 volts. Now, push the throttle to full speed. As the engine revs up, the voltage on your multimeter should climb steadily. You are looking for a reading between 13.5 and 15 volts.
Step 3: Analyze the Results
If the voltage stays below 13 volts even at full throttle, your charging system is not producing enough power. It could be the stator, but it is frequently the voltage regulator. If the voltage climbs above 15.5 volts, your regulator is failing to “limit” the charge, which will destroy your battery. In either of these scenarios, the regulator is the prime suspect and likely needs to be replaced.
Troubleshooting Common Charging System Issues
What if the test results are confusing? Sometimes, the problem is not the regulator itself but the connections leading to it. Electrical gremlins are common on mowers that spend their lives outdoors or in damp sheds.
Checking the Wiring Harness
Before you spend money on a new part, inspect the wires plugged into the regulator. These connectors are often exposed to dirt, moisture, and engine heat. Tug gently on the wires to ensure they are crimped tightly. If you see signs of melting, that is a sure sign of a short circuit. Use your multimeter in the “continuity” setting to ensure the wires have a clean path from the stator to the regulator and from the regulator to the battery.
The Stator Test
If you have confirmed your regulator is not outputting the correct voltage, you might want to perform one more quick test to rule out the stator (the part that generates the initial electricity). Unplug the stator wires from the regulator and set your multimeter to AC voltage.
With the engine running, check the output of the stator wires. If you see a healthy AC voltage output (usually 20-30 volts AC or more), then your stator is fine, and your regulator is definitely the failed component.
Replacing a Faulty Voltage Regulator
Once you have confirmed the diagnosis, replacing the part is a simple task that you can finish in about twenty minutes. Most voltage regulators on lawn mowers are mounted to the engine shroud or near the cooling fins of the engine block.
Removing the Old Unit
Locate the old regulator. It will usually have two or three wires plugged into it. Unplug the connector and unscrew the mounting bolt. Be mindful of where the mounting screws go, as they often serve as the “ground” for the unit. If the mounting area is rusted, take a moment to clean it with a little sandpaper to ensure a good connection for the new part.
Installing the New Component
Take your new regulator and line it up with the mounting holes. Make sure you use the same mounting hardware, as the bolt is often part of the electrical ground path. Plug the connector back in. If you want to be extra careful, add a small dab of dielectric grease to the connector pins to prevent future corrosion. Once it is bolted down and plugged in, repeat the voltage test we performed earlier to verify the fix. You should see those nice, steady numbers on your multimeter screen now.
Final Thoughts on Electrical Maintenance
Learning how to test a lawn mower voltage regulator is a rite of passage for any mower owner. It moves you from being a person who just “uses” the machine to someone who truly understands how it works. By keeping an eye on your electrical health, you prevent those annoying mid-mow breakdowns and extend the life of your battery by years.
Remember that your mower is a machine that thrives on consistency. If you keep your terminals clean, your connections tight, and your regulator functioning, your mower will start on the first turn of the key every single time.
If you ever feel unsure during the testing process, there is no shame in double-checking your connections or re-reading your owner’s manual. Your mower is an investment, and taking the time to care for it will pay dividends throughout the mowing season.
Frequently Asked Questions
How do I know if my lawn mower regulator is bad?
A bad regulator often shows symptoms like a dead battery that won’t hold a charge, lights that flicker brightly at high speeds, or a battery that gets extremely hot while running. If you test the battery while the engine is at full throttle and the voltage is below 13.5 or above 15.5, the regulator is likely faulty.
Can I mow the lawn without a voltage regulator?
Technically, the engine will run, but you should not do it. Without the regulator, the charging system may send unregulated voltage to your battery, which can cause it to boil over, explode, or damage your mower’s electronic ignition or display.
Does a bad battery cause a regulator to fail?
While a bad battery doesn’t necessarily break a regulator, a deeply discharged or “shorted” battery can put an excessive load on the charging system. This constant strain can lead to the premature failure of the voltage regulator over time.
Is it hard to replace a lawn mower voltage regulator?
No, it is generally very easy. It usually involves unplugging a wiring harness and removing one or two bolts, which can be done with basic hand tools in less than twenty minutes.
What should my multimeter be set to when testing?
When testing the output of the voltage regulator to the battery, you must set your digital multimeter to the DC Voltage setting (often denoted as V with a straight line and dots). If you are testing the stator output from the engine, you would set it to AC Voltage (V with a wavy line).
Do I need to be a mechanic to perform these tests?
Not at all! This process is designed for DIY homeowners. As long as you can operate a multimeter and follow basic safety precautions like disconnecting the spark plug, you are fully capable of performing these diagnostic steps.