
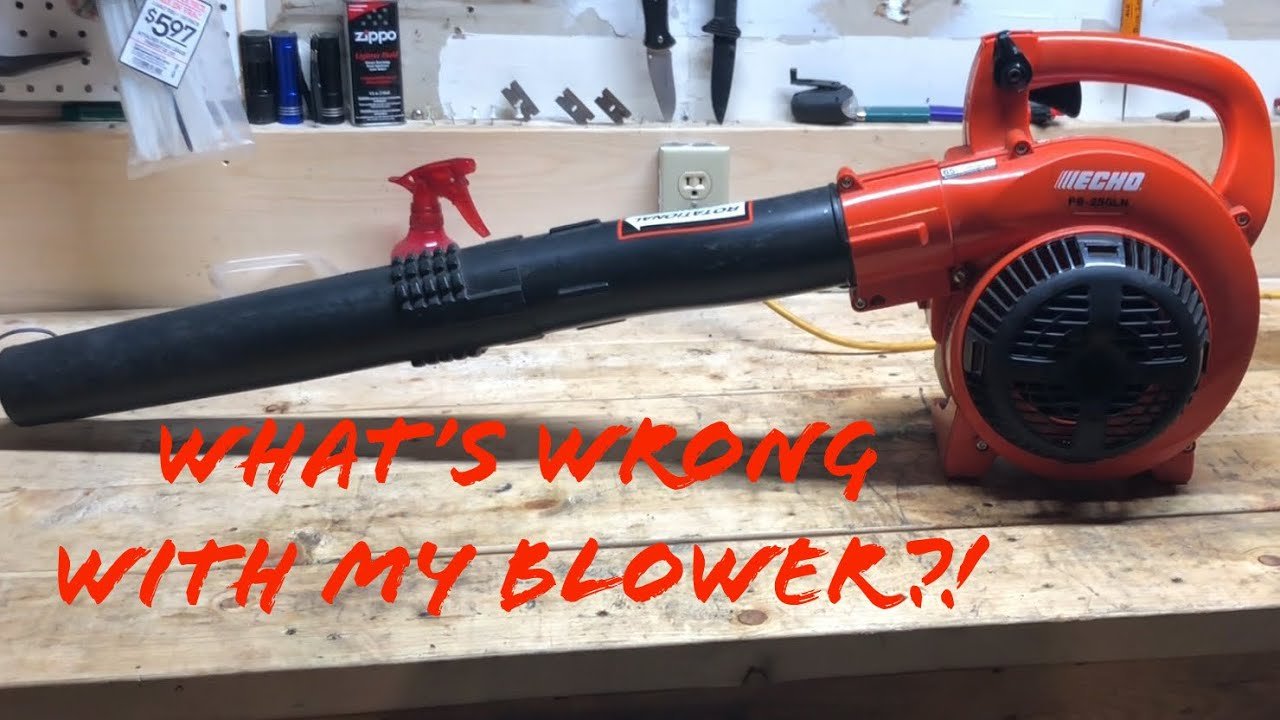
A leaf blower that will not start usually has one of five problems: no power, stale fuel, an incorrect start setting, a blocked air or fuel path, or a failed ignition part. Start with the safest and simplest checks. Confirm the fuel or battery, inspect the controls, then test the spark plug, air filter, and fuel system based on your blower type.
This guide covers gas, battery, and corded electric leaf blowers sold and used in the United States. Always check the owner’s manual for the exact starting sequence, fuel mix, battery type, and replacement parts for your model.

First, identify what type of leaf blower you have
The correct repair depends on the power system. A gas blower needs fuel, air, compression, and spark. A battery blower needs a charged battery, a working control circuit, and a motor. A corded blower needs a live outlet, a suitable extension cord, and a working switch.
| Blower type | Most likely no-start causes |
|---|---|
| Two-stroke gas | Old fuel, wrong fuel mix, flooded engine, bad spark plug, blocked air filter |
| Four-stroke gas | Old gasoline, low oil, flooded engine, dirty carburetor, ignition fault |
| Battery-powered | Dead or overheated battery, poor battery contact, locked trigger, charger problem |
| Corded electric | No power, tripped breaker, damaged cord, wrong extension cord, failed switch |
The sound and timing of the failure also matter. A blower that does not make any sound has a different problem from one that cranks but will not run.
- No sound at all: Check the battery, power cord, safety switch, trigger, fuse, and electrical supply.
- The engine cranks but does not start: Check fuel, spark, air, and the starting procedure.
- The engine starts and then dies: Look for stale fuel, a blocked fuel cap vent, a dirty carburetor, or a restricted air filter.
- The blower starts only with throttle input: Check the idle circuit, carburetor, fuel filter, or air leak.
- The engine backfires or smells strongly of gas: It may be flooded, or the fuel may be wrong or contaminated.
Disconnect the spark-plug wire before servicing a gas blower. Remove the battery before working on a battery blower. Unplug a corded blower before inspecting or cleaning it.
Why a gas leaf blower will not start
A gas leaf blower needs the right fuel, enough air, a spark at the correct time, and adequate engine compression. A fault in any one of these systems can prevent starting.
1. Confirm the fuel and fuel mix
Use the fuel listed in the owner’s manual. Many handheld gas blowers use a two-stroke engine that requires gasoline mixed with two-stroke oil. Other models use a four-stroke engine with straight gasoline and a separate crankcase oil supply.
Using straight gas in a two-stroke blower can cause severe engine damage. Using the wrong oil-to-gas ratio can also lead to poor starting, smoke, fouled plugs, or piston damage.
In the United States, regular pump gasoline often contains up to 10% ethanol, known as E10. The U.S. Environmental Protection Agency warns that E15 fuel is not approved for use in non-road engines, which includes many outdoor power equipment engines. Follow the fuel limits in your manual.
Check these points:
- Make sure the tank contains fuel.
- Confirm that the fuel is fresh enough for the manufacturer’s storage guidance.
- Verify the fuel mix ratio for a two-stroke engine.
- Do not use gasoline that has separated, smells sour, or contains visible water or debris.
- Do not mix old fuel with new fuel and assume it has been restored.
- Dispose of unwanted fuel through an approved local household hazardous-waste program.
Fuel can degrade during storage, especially when the tank is partly full and exposed to heat. Fuel stabilizer can help when added while the fuel is fresh, but it cannot reliably restore badly degraded gasoline.
2. Use the correct starting sequence
Most gas blowers use some combination of a primer bulb, choke, stop switch, and throttle lock. The sequence differs by model.
A common cold-start sequence is:
- Place the blower on stable ground.
- Move the stop switch to the run position.
- Press the primer bulb the number of times stated in the manual.
- Set the choke to the closed or full-choke position.
- Pull the starter cord until the engine coughs or briefly tries to start.
- Move the choke to the half-choke or run position.
- Pull the starter again until the engine starts.
- Let the engine warm briefly before using full throttle.
Do not keep pulling with the choke fully closed after the engine has tried to start. That can flood the engine.
Some blowers use an automatic choke or electronic start system. Do not force a manual sequence that does not match the model.
3. Clear a flooded engine
A flooded engine has too much fuel and not enough usable air. Common signs include a strong gasoline smell, a wet spark plug, or an engine that briefly fires and then stops.
To clear a flooded engine:
- Move the choke to the open or run position.
- Set the throttle as directed by the manual.
- Do not press the primer bulb again.
- Pull the starter several times with the blower pointed away from people and objects.
- Wait several minutes if the fuel smell is strong.
- If it still will not start, remove and inspect the spark plug.
If fuel runs from the carburetor or exhaust, stop. Allow the unit to dry in a well-ventilated outdoor area. Do not operate a gas blower near flames, pilot lights, cigarettes, or other ignition sources.
4. Inspect the spark plug
A fouled, wet, cracked, or badly worn spark plug can stop a gas blower from starting. Remove the plug only after the engine is cool and the spark-plug wire is disconnected.
Look for:
- A wet electrode, which can indicate flooding.
- Heavy black deposits, which may indicate rich fuel, a dirty air filter, or an incorrect oil mix.
- A cracked ceramic insulator.
- A worn or damaged electrode.
- The wrong plug type or gap.
Replace the spark plug if the manual lists it as a routine service item and the plug is damaged or badly fouled. Use the exact plug type and gap specified for the model.
Do not hold the spark plug against the engine and pull the starter unless you understand the risks and the procedure is allowed by the manual. A spark tester is safer and gives a clearer result. Never test ignition near spilled gasoline or fuel vapors.
5. Check the air filter
A blocked air filter limits air flow. The engine may start with the choke on, run poorly, or fail to start.
Remove the filter according to the manual. Replace a paper filter that is dirty or damaged. Clean a serviceable foam filter with the method specified by the manufacturer, then let it dry fully before reinstalling it.
Never run the blower without its air filter. Dust can enter the engine and damage internal parts.
6. Inspect the fuel path
If the fuel and spark plug look normal, check the fuel path. A clogged fuel filter, cracked fuel line, blocked carburetor, or plugged tank vent can prevent fuel from reaching the engine.
Signs of a fuel-system problem include:
- The engine runs briefly after priming, then dies.
- The primer bulb does not fill or stays collapsed.
- Fuel leaks around the carburetor.
- The blower starts only when fuel is added directly to the intake.
- The engine stops after several minutes as the tank develops a vacuum.
Carburetor cleaning and adjustment can require small parts, special tools, and model-specific settings. Do not change the high-speed or low-speed adjustment screws unless the manual gives a procedure. A wrong adjustment can cause overheating, poor performance, or unsafe operation.

Why a battery leaf blower will not start
A battery blower often fails to start because the battery is empty, too hot, too cold, poorly seated, or not recognized by the tool. A fault in the trigger or safety switch can cause the same symptom.
Try this sequence:
- Remove the battery.
- Inspect the battery terminals for dirt, moisture, or damage.
- Reinstall the battery until it locks fully into place.
- Check the battery charge indicator.
- Press the trigger or safety button in the order shown in the manual.
- Try a second approved battery if one is available.
- Check whether the battery or blower feels unusually hot.
- Let overheated equipment cool before trying again.
Lithium-ion batteries may stop output when their protection system detects excessive heat, low voltage, over-current, or another fault. Do not use a swollen, cracked, leaking, or unusually hot battery. Do not open the battery pack or attempt to repair its cells.
If the charger shows a fault light, clean and dry the contacts, confirm that the charger matches the battery system, and check the manual’s indicator codes. Do not charge a damaged battery or charge it in a place exposed to rain, extreme heat, or freezing conditions.
If a fully charged, approved battery works in another tool but not in the blower, the blower may have a failed trigger, motor controller, wiring connection, or motor. That repair usually requires qualified service.

Why a corded electric leaf blower will not start
A corded blower needs power at the outlet and a cord that can safely supply the tool. Start with the power source before opening the blower housing.
Check these items:
- Confirm that the blower is plugged in.
- Test the outlet with another device.
- Reset a tripped circuit breaker or ground-fault circuit interrupter, if appropriate.
- Inspect the extension cord for cuts, crushed areas, melted insulation, or loose ends.
- Use an outdoor-rated extension cord of the size and length listed in the manual.
- Make sure the plug and connections stay dry.
- Check the blower’s trigger, lockout, or safety switch.
A long or undersized extension cord can cause voltage drop. The motor may run weakly, overheat, or fail to start. Do not bypass a ground pin, tape over damaged insulation, or use a cord that feels hot.
If the outlet and cord work with other equipment but the blower remains silent, the switch, wiring, motor, or internal thermal protector may have failed. Unplug the blower and arrange service rather than testing live electrical parts unless you are trained to do so.

Use the symptom to find the likely cause
The following table helps narrow the fault before you buy parts or remove the carburetor.
| Symptom | Likely causes | Best first check |
|---|---|---|
| No sound from a gas blower | Stop switch, starter problem, seized engine | Confirm run switch and pull-cord movement |
| Gas blower cranks but never fires | No fuel, no spark, wrong choke setting | Check fresh fuel, spark plug, and start procedure |
| Gas blower starts briefly and dies | Dirty carburetor, blocked fuel filter, tank vent, stale fuel | Try fresh fuel and inspect fuel flow |
| Strong gas smell | Flooded engine, leaking carburetor | Stop priming and clear the flood safely |
| Battery blower is silent | Empty battery, poor contact, lockout switch | Charge and reseat the battery |
| Battery blower stops under load | Hot battery, blocked air path, motor fault | Let it cool and remove debris |
| Corded blower hums but does not spin | Jammed impeller, motor fault, low voltage | Unplug it and inspect the intake |
| Blower loses power after warming | Clogged filter, tank vent, overheating, fuel problem | Clean the filter and check ventilation |
Never place your hand into the intake or discharge tube while the blower is connected to power. A motor can start without warning if a switch or control fault changes.
A safe troubleshooting order
Use this order because it begins with low-risk checks and avoids unnecessary disassembly.
Step 1: Read the model information
Find the model number on the housing or nameplate. The manual determines the correct fuel, oil, plug, battery, cord, and starting sequence.
Step 2: Check for obvious safety problems
Stop if you see a fuel leak, damaged wiring, a swollen battery, melted plastic, smoke, or a strong electrical burning smell. Move the equipment away from ignition sources and arrange qualified service.
Step 3: Confirm power or fuel
For a gas blower, check fresh fuel and the correct mix. For a battery blower, check the charge and battery fit. For a corded blower, test the outlet and extension cord.
Step 4: Check the controls
Make sure the stop switch is in run, the lockout is released correctly, and the choke or throttle is set for the engine temperature.
Step 5: Inspect simple service parts
Check the air filter, spark plug, fuel filter, fuel lines, battery terminals, plug, and cord. Replace only parts that match the model.
Step 6: Test one change at a time
Do not replace the plug, clean the carburetor, and change the fuel at once. Make one change, then try the correct starting procedure. This makes the cause easier to identify.
Step 7: Stop when the repair becomes specialized
A repair shop is the better choice when the engine has no compression, the crankshaft will not turn, the carburetor leaks, wiring is damaged, or the motor controller has failed.
Common mistakes that make starting problems worse
Several common fixes can damage a blower or hide the real fault.
- Using starter fluid without guidance: It can damage some small engines and does not fix a fuel-delivery problem.
- Over-priming: More fuel is not better. It can flood the engine.
- Using the wrong two-stroke mix: Too little oil can damage the engine; too much can foul the plug and create smoke.
- Running without an air filter: Dust can enter the engine.
- Using E15 fuel in an engine not approved for it: Non-road equipment may not be designed for that fuel.
- Adjusting carburetor screws at random: Incorrect settings can create lean running and overheating.
- Pulling the starter with a seized engine: Excess force can damage the starter assembly.
- Charging a damaged battery: Stop using it and follow local battery-disposal guidance.
- Using a damaged extension cord: Replace it with a suitable outdoor-rated cord.
- Ignoring a fuel leak: Gasoline vapors can ignite even when no flame is visible.
Do not keep trying to start the blower if fuel is leaking, the motor is smoking, or the battery is swelling. The risk is greater than the value of another test.
When should you take the leaf blower to a repair shop?
Take the blower to qualified service when basic checks do not identify the problem or when the fault involves fuel, ignition, electrical, or internal engine parts.
Professional service is especially appropriate when:
- The engine has no compression.
- The crankshaft will not turn freely.
- The carburetor leaks fuel.
- The fuel line is brittle or damaged.
- The ignition coil appears to have failed.
- The battery pack is swollen, cracked, or hot.
- The motor controller or wiring has burned.
- The blower repeatedly overheats.
- The repair requires carburetor tuning not covered by the manual.
A repair may not make financial sense for an older blower if the cost approaches the price of a suitable replacement. Ask for a diagnosis and estimate before approving major work.

How to prevent future starting problems
Good storage and basic maintenance reduce most no-start problems.
For gas blowers:
- Use the fuel and oil listed in the manual.
- Keep fuel in an approved container.
- Use fuel stabilizer as directed and only with fresh fuel.
- Follow the manual’s storage procedure before long periods of nonuse.
- Clean the air filter at the recommended interval.
- Replace the spark plug when required.
- Keep cooling openings clear of leaves and dust.
For battery blowers:
- Store batteries in a dry place within the temperature range in the manual.
- Do not store a battery while it is damaged or swollen.
- Keep terminals clean and dry.
- Use the correct charger.
- Let hot batteries cool before charging.
For corded blowers:
- Store the cord without tight kinks.
- Inspect insulation before each use.
- Keep plugs and connections dry.
- Use the correct outdoor extension cord.
Manufacturer manuals are the primary source for model-specific maintenance intervals. For general fuel guidance, consult the U.S. Environmental Protection Agency’s small-engine fuel information and the equipment manufacturer’s manual.

Frequently asked questions
Why does my leaf blower start and then stop?
The most common causes are stale fuel, a blocked fuel filter, a dirty carburetor, a clogged air filter, or a blocked tank vent. If the engine runs for only a few seconds, try fresh approved fuel and inspect the air filter. Do not keep running the blower if it leaks fuel or overheats.
Why will my leaf blower not start after winter storage?
Fuel may have degraded, the carburetor may be restricted, or the battery may be deeply discharged. Gas models often need fresh fuel and a clean fuel system. Battery models should be checked with the approved charger and a known-good battery if available.
Why is my leaf blower hard to start when cold?
A cold gas engine needs the correct choke and primer settings. Too little choke can prevent fuel from vaporizing well; too much choke can flood the engine. Follow the model’s cold-start sequence rather than repeatedly pressing the primer.
Can old gasoline stop a leaf blower from starting?
Yes. Old gasoline can lose volatility and may form deposits that restrict the carburetor or fuel filter. Drain and dispose of questionable fuel safely, then use fresh fuel that meets the manufacturer’s requirements.
How do I know whether the spark plug is bad?
A wet, cracked, heavily fouled, or badly worn plug is suspect. The correct plug type and gap must match the manual. A spark tester provides a safer and more useful check than holding the plug near the engine.
Final answer: what to check first
If your leaf blower will not start, begin with the power source or fuel. Then confirm the run switch, choke, primer, and trigger sequence. For a gas model, inspect fresh fuel, the air filter, and the spark plug. For a battery model, test the battery and contacts. For a corded model, check the outlet, breaker, and extension cord.
Stop troubleshooting if you find a fuel leak, damaged battery, burned wiring, smoke, or an internal engine problem. Use the owner’s manual for model-specific instructions, and contact qualified service when the repair involves carburetor adjustment, ignition testing, electrical wiring, or engine disassembly.