
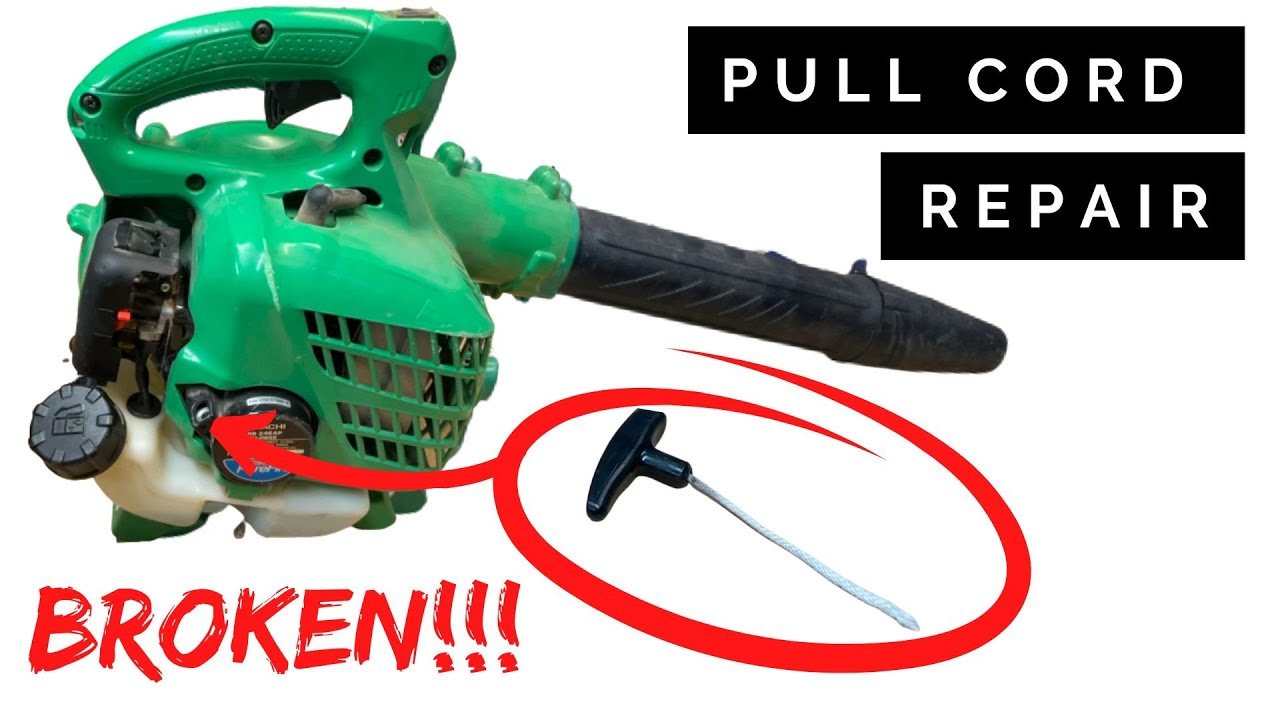
Replacing a leaf blower pull cord usually takes 30 to 60 minutes. The job involves removing the recoil starter, taking out the worn rope, fitting a cord with the correct size and length, and testing the spring return. Always use the owner’s manual for your exact leaf blower model because starter parts, rope sizes, and winding directions vary.
Introduction
For U.S. homeowners, a broken pull cord can stop yard work in an instant, especially during fall leaf season. Most gas-powered handheld and backpack leaf blowers use a recoil starter with a rope, pulley, and spring. If the rope is frayed, snapped, or stuck inside the housing, you can often replace it without replacing the entire starter assembly.
Before starting, move the blower to a clean, well-lit workbench or garage. Let the engine cool, disconnect the spark plug wire, and keep gasoline away from sparks, flames, and heaters.

What You Need Before Replacing the Cord
Gather the correct replacement rope and a few basic tools before opening the starter housing.
Tools and supplies
You may need:
- Replacement recoil starter rope
- Phillips or flat-head screwdriver
- Socket set or nut driver
- Needle-nose pliers
- Utility knife or sharp scissors
- Lighter or match for sealing synthetic rope
- Work gloves
- Safety glasses
- Clamp or locking pliers
- A clean tray for screws
Many leaf blowers use starter rope sold in small-engine repair kits. The rope must match the original diameter. A cord that is too thick may bind in the pulley or starter eyelet. A cord that is too thin may wear quickly or pull through the knot.
Find the correct rope size
Check these sources in order:
- The leaf blower owner’s manual
- The model number on the blower housing
- The parts diagram from the manufacturer
- The original rope, if its diameter is still intact
- A small-engine parts supplier that lists model compatibility
Do not choose rope by color alone. Starter rope colors vary by brand and do not prove that the cord has the correct size or strength.
Know which starter you have
Most gas leaf blowers use one of two designs:
- A recoil starter mounted directly to the engine
- A removable starter assembly mounted under a blower cover
Some models use an electric starter or a battery-powered motor and have no pull cord. If your blower has no recoil housing, this guide does not apply.

How a Leaf Blower Pull Starter Works
A recoil starter uses a spring-loaded pulley to turn the engine when you pull the handle. The rope wraps around the pulley. When you pull the handle, the pulley spins and engages the engine. When you release the handle, the spring turns the pulley back and retracts the rope.
This design explains why the cord may fail in different ways:
- A frayed rope usually means normal wear, heat damage, or rubbing.
- A rope that will not retract may indicate a broken spring, a jammed pulley, or a damaged starter guide.
- A rope that pulls out but does not turn the engine may point to a worn starter clutch or another engine-side problem.
- A rope that snaps again soon after replacement may be rubbing on a sharp edge or may be the wrong size.
You usually do not need to remove the recoil spring to replace only the rope. Avoid removing the spring unless the spring itself is damaged and you have the correct repair instructions. A recoil spring can release suddenly and cause cuts.

Step-by-Step: How to Replace a Leaf Blower Pull Cord
Follow these steps if the starter housing and pulley are in good condition.
1. Make the blower safe
Turn off the engine and allow it to cool fully. Move the ignition switch to the off position.
For a gas-powered leaf blower:
- Disconnect the spark plug wire.
- Keep the wire away from the spark plug.
- Place the blower on a stable work surface.
- Work outdoors or in a well-ventilated area.
- Keep cigarettes, flames, and electrical sparks away from fuel.
The spark plug wire can sometimes snap back into place while you work. Secure it away from the plug so the engine cannot start unexpectedly.
2. Remove the recoil starter housing
Locate the starter cover. It is usually the round or shallow cover around the pull rope.
Remove the screws or bolts that hold it in place. Put each fastener in a tray so it does not enter the blower housing. If the cover will not lift free, check for a hidden screw near the handle, air filter, or engine shroud.
Take a photo before removing the housing. The picture can help you remember the rope path and the position of the starter handle.
3. Inspect the starter before removing the rope
Check the following parts:
- Pulley
- Rope guide
- Starter handle
- Pulley hub
- Recoil spring
- Starter cover
- Engine engagement tabs or pawls
The pulley should turn smoothly in one direction and return under spring tension. It should not wobble badly, scrape the housing, or show deep cracks.
If the pulley is cracked or the spring is broken, replacing only the rope may not solve the problem. A complete recoil starter may be the better repair.
4. Hold the pulley under spring tension
Before cutting the old rope, control the pulley so it does not spin freely.
Turn the pulley slowly in the direction that pulls the rope into the housing. Continue until you feel spring tension. Hold the pulley in that position with a clamp or locking pliers, if the design allows it.
Some starters have a small notch or hole where you can temporarily lock the pulley. If your model has this feature, use it. Do not force a clamp against delicate plastic parts.
5. Remove the old pull cord
Pull the starter handle out as far as it will go. Find the knot that holds the rope to the pulley or handle.
Cut the rope near the pulley or remove the knot with pliers. Slowly release the pulley while holding it. Letting it spin without control can damage the spring or injure your fingers.
Remove every piece of the old cord. Check that no short section remains inside the pulley or rope guide.
6. Measure and prepare the new rope
Use the old cord as a rough length guide only if it was installed correctly and was not badly stretched. The owner’s manual is the better source.
The new rope should:
- Fit through the pulley hole
- Fit through the starter housing guide
- Reach the handle without excess slack
- Leave enough length for several pulley wraps
- Retract fully without pulling the handle against the housing
Cut the rope cleanly. If it is a synthetic rope, briefly melt the cut end with a lighter and press it with pliers. Let it cool before threading it. Do this outdoors or in a well-ventilated area, and keep the flame away from fuel.
Do not burn natural-fiber rope. It may char instead of forming a clean sealed end.
7. Thread the cord through the pulley
Find the rope hole in the starter pulley. Push the new cord through from the correct side, following the path used by the original rope.
Tie a secure knot. A compact overhand knot or figure-eight knot is commonly used, but your manufacturer may specify another knot. Pull the knot tight and seat it in the pulley recess.
The knot must not rub against the starter cover. If it sits too high, the pulley may scrape or fail to turn.
8. Wind the pulley
Hold the new rope and turn the pulley in the direction that winds the cord into the starter. Keep the rope flat and tight as it wraps.
Wind enough turns to provide full handle retraction, but do not over-wind the spring. The correct number of turns depends on the starter design. A useful general check is to leave the rope handle several inches from the housing while the pulley is under tension. The manual takes priority if it gives a specific winding procedure.
Release the pulley slowly. It should pull the rope into the housing with steady force. The handle should stop before it strikes the rope guide.
9. Attach the starter handle
Thread the free end of the cord through the handle. Tie the original style of knot or a compact stopper knot that fits inside the handle.
Pull the handle firmly to seat the knot. The handle should remain secure but must not block the rope guide.
If the handle sits too close to the housing, the cord may not wind fully. If it hangs too far away, the pulley may run out of spring tension before the handle returns.
10. Reinstall the starter housing
Place the recoil starter back on the blower. Make sure the rope runs through its guide and does not sit under the cover edge.
Install the screws by hand first. Tighten them evenly. Do not overtighten plastic housing screws because the mounting bosses can crack.
Pull the handle several times before reconnecting the spark plug wire. The cord should extend smoothly, retract fully, and remain clear of the housing.
11. Test the starter
Reconnect the spark plug wire only after the housing is secure.
Start with a slow test pull. Then make a normal pull while following the starting procedure in the owner’s manual. Stop immediately if:
- The cord catches
- The pulley grinds
- The handle does not return
- The rope rubs against the housing
- The engine does not turn
- The new rope begins to fray
A successful repair has a smooth pull, steady spring return, and no contact between the cord and sharp edges.

Troubleshooting a Failed Pull-Cord Repair
A new rope will not fix every recoil starter problem. Use the symptom table below to narrow down the cause.
| Symptom | Likely cause | Recommended check |
|---|---|---|
| Rope will not retract | Broken spring, over-wound pulley, jammed rope | Remove the cover and inspect spring tension and rope path |
| Rope retracts slowly | Rope too thick, dirty pulley, weak spring | Compare cord size and clean the pulley area |
| Rope pulls out but does not turn engine | Damaged starter pawls or clutch | Inspect the engine engagement parts |
| Rope snaps at the handle | Poor knot, worn handle edge, excessive pull force | Replace the handle or tie a compact knot |
| Rope frays near the housing | Sharp guide or misalignment | Inspect the rope guide and starter cover |
| Pulley wobbles | Cracked pulley or worn hub | Replace the pulley or complete starter |
| Starter makes a grinding sound | Cover interference or damaged pulley | Check alignment and housing clearance |
| Engine still will not start | Fuel, ignition, air, or engine fault | Diagnose the engine separately |
A leaf blower can have a working recoil starter and still fail to start. If the rope pulls normally but the engine does not fire, check the fuel, spark, air filter, choke setting, and manufacturer starting instructions.
Do not keep pulling a rope that is binding. Repeated hard pulls can damage the starter, flood the engine, or break the new cord.
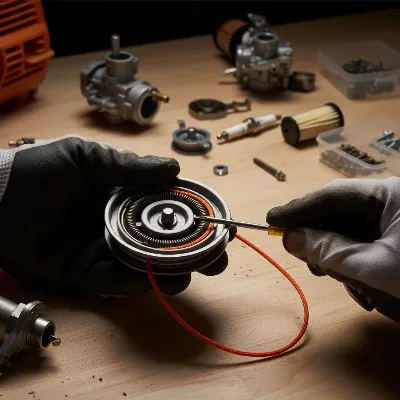
When to Replace the Complete Recoil Starter
Replace the full recoil starter when several parts are damaged or when the spring and pulley are difficult to service separately.
A complete assembly may be appropriate when:
- The pulley is cracked
- The recoil spring is broken or badly distorted
- The starter housing is warped
- The engagement pawls are worn
- The pulley hub has excessive play
- Replacement parts are unavailable individually
- The starter has failed more than once
Match the replacement assembly to the exact make and model. Two blowers from the same brand may use different mounting holes, pulley designs, or starter engagement parts.
A complete starter can reduce repair time, but it does not eliminate the need to confirm compatibility. Use the model number printed on the blower rather than relying only on appearance.

Common Mistakes to Avoid
Avoid these mistakes when replacing a leaf blower starter cord:
Using the wrong rope diameter
A thicker cord may jam. A thinner cord may cut into the pulley or pull through the knot. Use the size listed for the model.
Letting the pulley spin freely
An uncontrolled pulley can damage the recoil spring. Hold it while removing the old cord and releasing stored tension.
Removing the recoil spring without a need
The spring is under tension and can uncoil sharply. Replace only the cord when the spring and pulley work correctly.
Over-winding the starter
Too much spring tension can prevent the cord from retracting fully and may shorten spring life. Stop winding when the cord reaches the proper travel for the handle.
Reusing a damaged handle
A cracked handle can cut the new cord. Replace it if the rope channel has sharp edges or the grip is damaged.
Pulling at an angle
Pull the handle in line with the rope guide. Side pulls increase rubbing and can cause early failure.
Ignoring the root cause
If the old cord failed at one exact point, inspect that area closely. A sharp guide, loose cover, or misaligned pulley may destroy the replacement cord too.
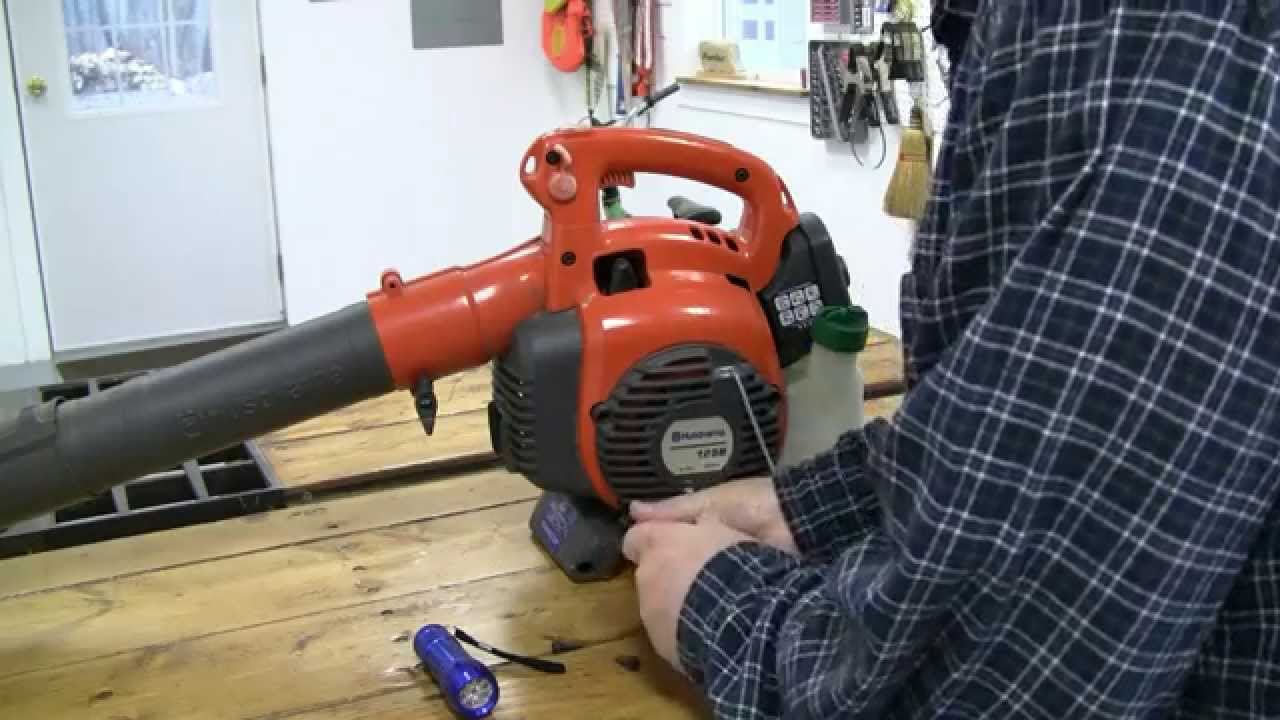
How to Make the New Pull Cord Last Longer
A replacement cord lasts longer when the starter stays clean and the handle is used correctly.
- Pull the handle straight out rather than at an angle.
- Do not let the handle snap back without control.
- Keep leaves, dust, and grass away from the recoil housing.
- Store the blower in a dry place.
- Inspect the rope at the start of each season.
- Replace a frayed cord before it breaks inside the housing.
- Avoid dragging the blower by its starter handle.
- Follow the engine manufacturer’s starting method.
Small-engine equipment often works harder during cold starts. Do not compensate by using violent pulls. A smooth, full stroke is easier on the rope and starter parts.

Frequently Asked Questions
Can I replace a leaf blower pull cord without removing the starter?
Sometimes. If the pulley and rope knot are accessible, you may replace the cord with the starter mounted on the blower. Removing the housing usually gives better access and lets you inspect the pulley, spring, and rope guide.
What size rope does a leaf blower use?
The correct size depends on the blower model and starter design. Check the owner’s manual or parts diagram. Do not assume that all handheld or backpack blowers use the same diameter.
Why does my new pull cord not retract?
Common causes include an over-wound pulley, incorrect rope routing, a cord that is too thick, a jammed pulley, or a damaged recoil spring. Remove the cover and check each cause before pulling harder.
How long should a leaf blower pull cord be?
The length is model-specific. It must provide enough travel to turn the engine and enough wraps around the pulley to retract the handle fully. Use the original cord and the owner’s manual as guides, then confirm that the handle stops before striking the housing.
Can I use any strong string as a replacement?
No. Household string, clothesline, fishing line, and general utility cord may stretch, melt, fray, or fail under repeated pulls. Use recoil starter rope made for small engines.
Should I repair the rope or replace the whole starter?
Repair the rope when the pulley, spring, housing, and engagement parts work correctly. Replace the full starter when the spring, pulley, housing, or pawls are damaged, or when the assembly is not economical to rebuild.
When should I take the blower to a repair shop?
Get professional help if the recoil spring has come loose, the starter will not engage the engine, fuel is leaking, the engine is seized, or you cannot safely control the spring. A repair shop can also match the correct starter assembly using the model number.

Conclusion
Replacing a leaf blower pull cord is a practical repair when the recoil pulley and spring are still sound. Use the correct rope, control the pulley’s stored tension, route the cord through the original guides, and test the return before starting the engine.
If the new cord binds, frays, or fails to turn the engine, stop and inspect the starter rather than pulling harder. The next step is to find the blower’s exact model number and compare its replacement rope or recoil assembly with the manufacturer’s parts information.
1 thought on “How To Replace A Leaf Blower Pull Cord: Easy DIY Guide”