
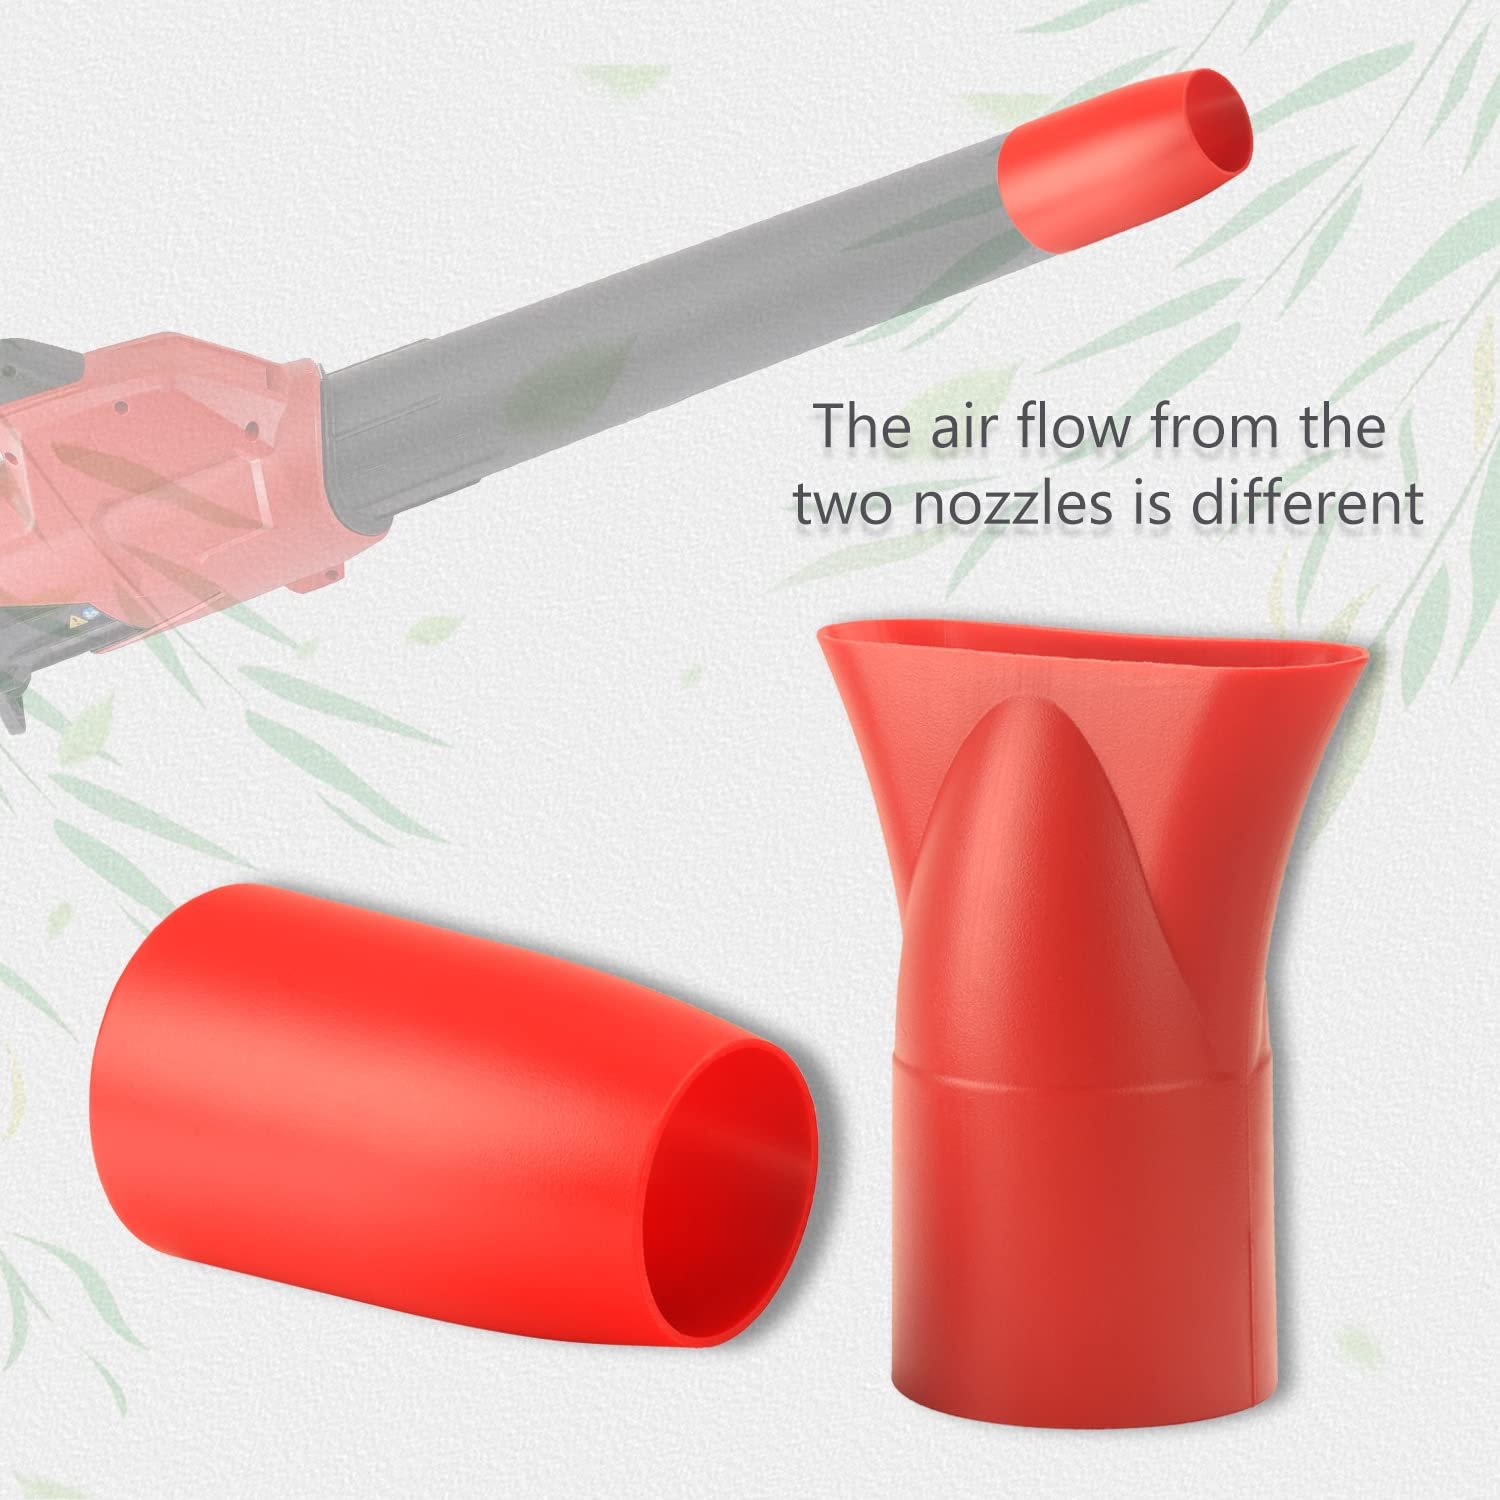
A clogged leaf blower nozzle is usually easy to fix. Turn off the blower, disconnect its power source, remove the nozzle if the manual allows it, and clear the blockage with a soft brush or a blunt plastic tool. Do not reach into the tube while the blower is connected to power.
For homeowners in the United States, the safest method is the same for most battery, electric, and gas leaf blowers. However, the exact way to remove the nozzle can vary by model. Always check the owner’s manual before taking off parts or cleaning near the fan and motor.
A blocked nozzle can reduce airflow, make the motor sound strained, or stop the blower from moving leaves. Cleaning the tube often solves the problem in a few minutes.

Key Takeaways
- Disconnect the battery, power cord, or spark plug wire before cleaning.
- Check both ends of the nozzle for leaves, twigs, mud, and packed grass.
- Use a soft brush, a wooden stick, or a blunt plastic tool.
- Do not use your fingers, a knife, or a metal rod inside the nozzle.
- Let all wet parts dry before starting the blower.
- If airflow stays weak, inspect the intake screen, impeller area, filter, and battery or fuel system.
What Causes a Leaf Blower Nozzle to Clog?
A leaf blower nozzle clogs when material becomes trapped in the narrow outlet tube. Wet leaves, pine needles, grass, small sticks, mulch, and mud are common causes. Damp debris can stick to the inside wall and form a hard plug.
The nozzle may also clog when the blower is used too close to loose soil, mulch, or a pile of wet yard waste. A piece of bark or a small twig can enter the tube and catch other debris behind it.
A clog is more likely when:
- The blower is used after rain.
- Wet leaves are pushed into a pile.
- The nozzle is placed directly against the ground.
- The blower has a narrow or curved extension tube.
- Debris enters through a cracked, loose, or poorly fitted nozzle.
- The intake screen or fan area is already dirty.
A blocked nozzle is not the only cause of weak airflow. A dirty intake, damaged impeller, low battery, clogged air filter, or engine problem can create similar symptoms.

Signs the Nozzle Is Clogged
The clearest sign is a sudden drop in airflow. The blower may run at normal speed, but little air comes from the end of the tube.
Other common signs include:
- The motor sounds louder or more strained than usual.
- Airflow comes out in short bursts.
- The blower vibrates more than normal.
- Leaves move only a short distance.
- The nozzle feels heavy because it contains wet material.
- You can see debris through the tube.
- The blower shuts off soon after starting.
If the blower stops suddenly, do not keep pulling the trigger or restarting the engine. A blockage may cause extra heat or place stress on the motor and fan.
First, inspect the nozzle. If the tube is clear, move to the intake screen and impeller area. If the blower still overheats, sparks, smells burnt, or makes grinding sounds, stop using it and arrange qualified repair.
What You Need Before Cleaning
Gather the right tools before you begin. Most clogs need only a few basic items:
- Safety glasses
- Work gloves
- A flashlight
- A soft nylon brush
- A wooden dowel or blunt plastic tool
- A dry cloth
- Mild dish soap and warm water, if the nozzle is washable
- A bucket or tray for wet debris
Do not use a knife, screwdriver, wire, or other sharp metal tool to scrape the inside of the tube. Sharp tools can damage plastic, create a crack, or leave a metal edge that catches debris later.
You also need a safe work area. Move away from gasoline, open flames, children, and pets. Clean the nozzle on a stable surface where small parts will not roll away.
Before using water, confirm that the part can be removed and washed. Never soak the blower body, battery, charger, electric motor, control panel, or engine.

How to Clean a Clogged Leaf Blower Nozzle
Follow these steps in order. They apply to many corded electric, cordless battery, and gas-powered leaf blowers, but the owner’s manual controls if it gives different instructions.
1. Turn off the blower
Release the trigger or switch. Wait until the fan stops moving and the motor becomes quiet.
Never try to clear a clog while the blower is running. Air pressure can move debris without warning, and the fan may start if the switch is pressed by mistake.
2. Disconnect the power source
Use the method that matches your blower:
- Battery blower: Remove the battery.
- Corded electric blower: Unplug the power cord from the outlet.
- Gas blower: Turn off the engine and disconnect the spark plug wire if the manual recommends it for service.
Keep the battery or plug away from the blower while you work. For a gas model, allow the engine and muffler to cool before handling the machine.
3. Remove the nozzle if possible
Many nozzles twist off, slide off, or attach with a locking button. Remove only the parts described in the manual.
If the nozzle does not come off easily, do not force it. A screw, locking tab, or retaining clip may hold it in place. Forcing the tube can break the housing or make it unsafe to reinstall.
Place screws and small clips in a cup or tray.
4. Inspect both ends with a flashlight
Look through the wide end and the outlet end. Find where the debris is packed.
Check for:
- Leaves
- Pine needles
- Grass
- Twigs
- Mulch
- Mud
- Gravel or small stones
- Insect nests or other stored debris
Do not push the blockage farther into the tube. Start from the side with the most open space.
5. Pull out loose debris
Wear gloves and remove loose material by hand from the outside of the tube. Keep your fingers away from the blower housing and fan.
If a plug is close to the opening, pull it out in small pieces. Do not twist hard against the plastic tube.
6. Brush the inside
Use a soft nylon brush to loosen stuck dirt. A bottle brush can work well for a narrow tube. Move the brush back and forth with light pressure.
For a curved nozzle, clean from both ends. This helps prevent a second plug from forming deeper inside.
7. Use a blunt tool for hard plugs
If wet debris has dried inside the tube, use a wooden dowel or blunt plastic rod. Tap and loosen the material gently.
Do not strike the tube with a hammer. Do not use compressed air while holding the nozzle near your face. A blast of air can send dirt into your eyes or push the blockage into a smaller passage.
8. Wash the nozzle only when appropriate
If the nozzle is removable and the manual permits washing, rinse it with warm water. Use a small amount of mild dish soap for oily dirt or stuck plant material.
Rinse away all soap. Shake out the water and dry the tube fully with a towel. Let it air-dry before reinstalling it.
Do not wash the blower body. Do not spray water into the fan housing, motor, battery compartment, fuel system, or electrical controls.
9. Check for cracks and damage
Hold the nozzle up to the light. Look for cracks, dents, melted plastic, loose seams, and damaged locking tabs.
A cracked nozzle can leak air and lower blowing performance. Replace it if it no longer fits securely or if a damaged edge could break during use.
10. Reinstall the nozzle
Put the nozzle back exactly as the manual shows. Twist or slide it into the locked position. If the part uses a screw or clip, tighten it firmly but do not overtighten plastic parts.
A loose nozzle may vibrate, fall off, or direct air in an unexpected way.
11. Test the blower safely
Move outdoors to a clear area. Keep people, pets, and loose objects away from the outlet. Reconnect the battery, cord, or spark plug wire only after the nozzle is secure.
Start the blower at a low setting if it has one. Check for:
- A steady stream of air
- Normal motor sound
- Little or no vibration
- No burning smell
- No unusual heat
- A secure nozzle connection
Increase the speed only if the blower runs normally.

How to Clear a Clog That Will Not Come Out
A hard blockage may need more careful work. Start by soaking only the removable nozzle in warm, soapy water if the material and manual allow it. This can soften dried mud and plant matter.
Do not soak a nozzle made of material that may absorb water, swell, or contain electrical parts. When unsure, clean it with a damp cloth and a dry brush instead.
If a stick is wedged across the tube, push it out from the wider end with a blunt plastic tool. Work slowly. The goal is to break the plug apart, not force the entire blockage through the narrow outlet.
Stop and seek service if:
- The nozzle is fused to the housing.
- The blockage is inside the fan or motor area.
- The impeller does not turn freely after power is removed.
- The tube is cracked or melted.
- The blower makes a grinding or scraping sound.
- The motor overheats after the nozzle is clear.
- You smell burning plastic, fuel, or electrical insulation.
The fan and impeller can have sharp edges. A technician may need to open the housing, especially if the blockage is beyond the nozzle.
What to Check When the Nozzle Is Clear but Airflow Is Still Weak
If cleaning the outlet does not restore performance, check the parts that supply air to the blower.
| Symptom | Possible cause | Safe first check |
|---|---|---|
| Low airflow but normal motor sound | Dirty intake screen | Turn off the blower and brush the screen |
| Motor slows under load | Weak battery or extension cord issue | Charge the battery or use the correct cord size from the manual |
| Engine runs poorly | Dirty air filter or stale fuel | Follow the maintenance steps in the manual |
| Strong vibration | Damaged or unbalanced impeller | Stop using the blower and arrange service |
| Airflow pulses | Partial clog or loose nozzle | Inspect the tube and connection |
| Blower overheats | Blocked intake, fan damage, or motor fault | Stop operation and let it cool |
| No airflow at all | Internal blockage or failed fan | Disconnect power and seek repair |
Keep the intake away from clothing, leaves, and loose grass while testing. A blocked intake can reduce airflow even when the nozzle is clean.
For a cordless blower, a nearly empty or aging battery may also reduce power. For a gas blower, poor fuel, a dirty air filter, or a spark problem may cause low engine speed. These issues are separate from a clogged nozzle.

Common Mistakes to Avoid
Cleaning while the blower is connected
This is the most serious mistake. A blower can start if a switch is pressed, a trigger is moved, or power returns unexpectedly. Disconnect the power source first.
Using your hand deep inside the tube
A nozzle can hide sharp sticks, stones, or broken plastic. Use a brush or blunt tool instead.
Pushing the clog toward the fan
This can move debris from an easy-to-clean tube into a harder-to-reach housing. Work from the open end and pull material out.
Using a sharp tool
A knife or screwdriver can puncture the tube. It can also scratch plastic and create a place where future debris catches.
Spraying the whole machine with water
Water can damage electrical parts and may create a shock or fire risk. Clean removable plastic parts only when the manual permits it.
Running the blower without its nozzle
Some models may operate without a nozzle, but the owner’s manual may prohibit it. The nozzle can help direct air and protect the outlet. Test only in the configuration approved for that model.
Ignoring a damaged nozzle
A nozzle that is cracked, loose, or melted may not direct air correctly. Replacement is safer than trying to repair a high-speed air tube with tape or glue.
How to Prevent Future Nozzle Clogs
Prevention starts with dry debris and good handling. Let wet leaves dry before blowing them when practical. Avoid pressing the nozzle into piles of leaves, soil, mulch, or grass.
Use these habits:
- Inspect the nozzle before each use.
- Clear large sticks and stones from the work area first.
- Keep the outlet slightly above the ground.
- Stop the blower if airflow drops suddenly.
- Empty wet debris before it dries inside the tube.
- Brush dirt from the intake screen during routine maintenance.
- Store the blower in a dry place.
- Check that the nozzle remains locked in position.
- Follow the cleaning and service schedule in the manual.
A short inspection after each use can prevent a small leaf plug from becoming a hard, packed blockage.
Frequently Asked Questions
Can I use compressed air to clean a leaf blower nozzle?
You can use low-pressure air on a fully detached, dry nozzle while wearing eye protection, but a brush is usually safer and more controlled. Do not blow debris toward your face, into the blower housing, or into the motor. Follow the manufacturer’s cleaning instructions first.
Can I wash a leaf blower nozzle with water?
A removable plastic nozzle can often be washed, but the manual should confirm this. Remove it first, keep water away from the blower body and electrical parts, and dry the nozzle completely before use.
Why does my leaf blower still have weak airflow after cleaning?
The intake screen, impeller, air filter, battery, fuel system, or motor may be the cause. Check the parts that the owner’s manual identifies as user-serviceable. Stop using the blower if it vibrates, overheats, smells burnt, or makes a grinding noise.
Should I remove the spark plug wire before cleaning a gas leaf blower?
Disconnecting the spark plug wire can help prevent accidental starting during service, but follow the procedure in the model’s manual. At minimum, turn off the engine, let it cool, and keep the ignition control in the off position.
How often should I clean the nozzle?
Inspect it before every use and clean it whenever airflow drops or debris is visible. A full wash is not needed for every job. Dry brushing after use is often enough for light dust and loose leaves.
Conclusion
To clean a clogged leaf blower nozzle, disconnect the power, remove the tube if approved, inspect both ends, loosen the debris with a soft brush or blunt tool, and dry the part before reinstalling it. Never use your fingers deep inside the tube or sharp tools that can damage the plastic.
If the nozzle is clear but the blower still has weak airflow, inspect the intake and other user-serviceable parts. Unusual noise, heat, vibration, burning smells, or damage require professional service rather than repeated testing.
2 thoughts on “How To Clean A Clogged Leaf Blower Nozzle: Easy Fix”