
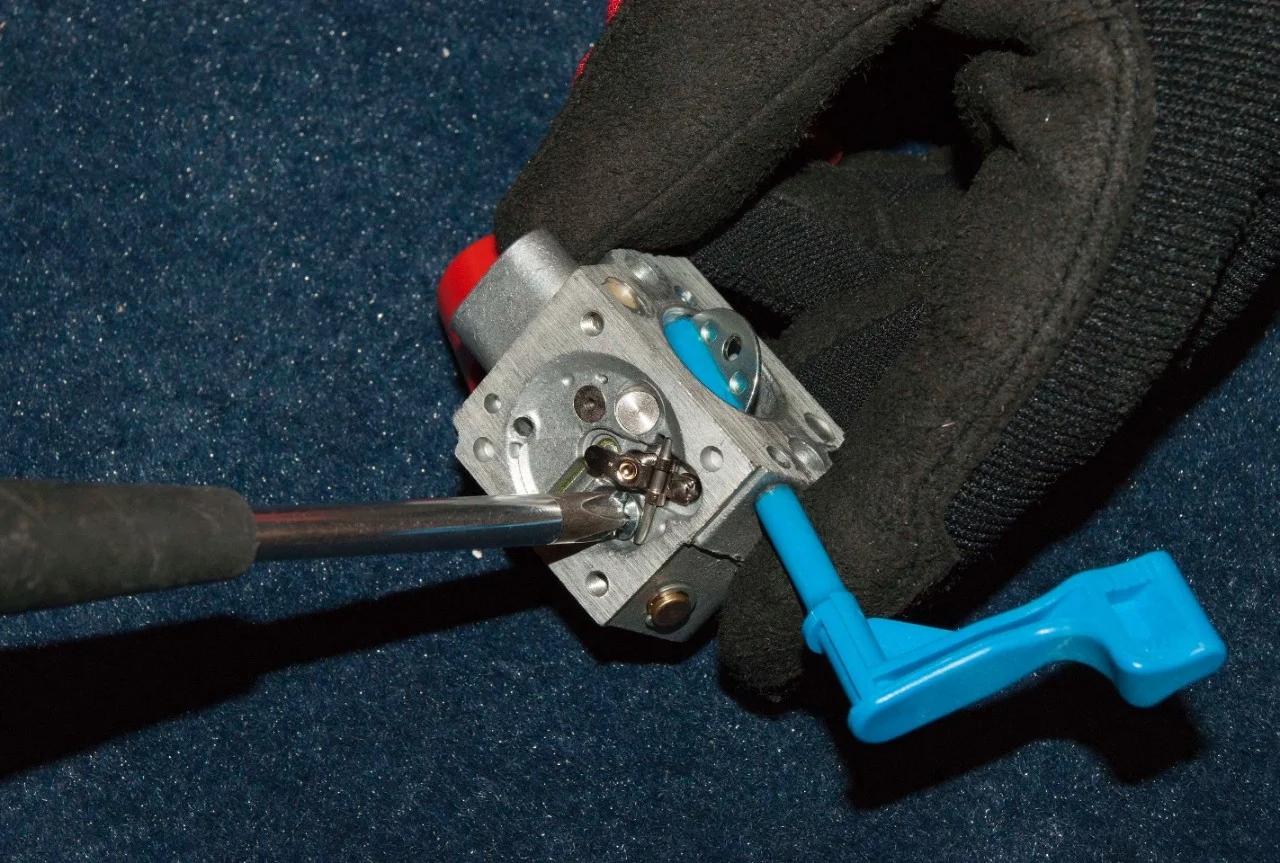
To clean a leaf blower carburetor, shut off the fuel, remove the air filter and carburetor, take off the bowl or diaphragm cover, clean the passages with approved carburetor cleaner and compressed air, then replace damaged gaskets before reassembly. Work in a well-ventilated area and follow the service manual for your model.
This guide applies mainly to gas-powered leaf blowers sold and used in the United States. Electric and battery leaf blowers do not have a carburetor. Most small gas blowers use a two-stroke engine, although some larger models use a four-stroke engine.
A dirty carburetor can cause hard starting, stalling, poor acceleration, surging, or weak airflow. Cleaning may solve the problem, but a damaged diaphragm, blocked fuel line, bad ignition part, or low engine compression can cause similar symptoms.
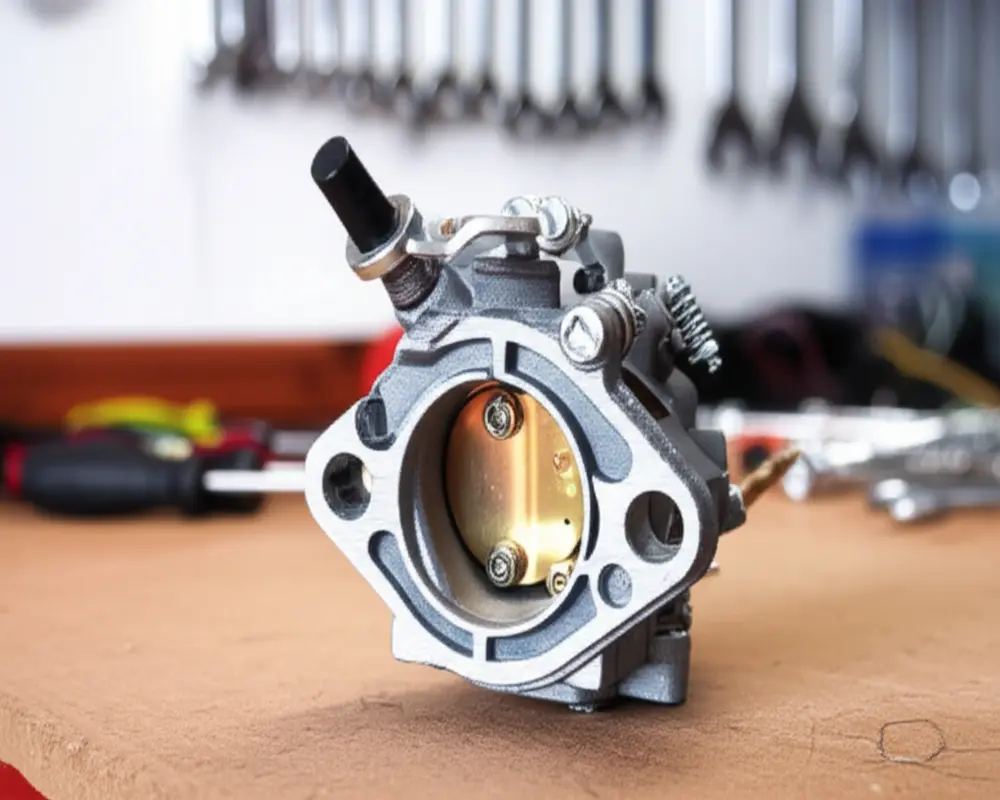
When a Leaf Blower Carburetor Needs Cleaning
A leaf blower carburetor may need cleaning when old fuel, dirt, varnish, or debris blocks the small fuel passages. Gasoline can leave a sticky residue when it sits in the tank or carburetor for several weeks or months.
Common signs include:
- The engine will not start.
- The engine starts only when you spray or prime it.
- The engine starts but dies when you squeeze the throttle.
- The blower surges or runs unevenly.
- The engine has weak acceleration.
- The engine runs for a short time and then stops.
- Fuel leaks from the carburetor.
- The primer bulb does not fill with fuel.
A dirty carburetor is not the only possible cause. Check the air filter, spark plug, fuel, fuel filter, fuel line, and muffler before removing parts. A simple clogged air filter can look like a carburetor problem.
Carburetor parts you may see
Most handheld leaf blower carburetors include:
- Fuel inlet: The point where fuel enters the carburetor.
- Fuel passages: Small internal channels that move fuel.
- Metering diaphragm: A flexible membrane that controls fuel flow on many two-stroke carburetors.
- Pump diaphragm: A membrane that helps draw fuel into the carburetor.
- Needle valve: A small valve that controls fuel entering the metering chamber.
- Fuel bowl: A small reservoir found on many float-style carburetors.
- Main jet and idle jet: Small openings that meter fuel.
- Throttle plate: Controls air entering the engine when you press the throttle.
- Choke plate: Restricts air during a cold start.
Do not assume every carburetor has a fuel bowl. Many two-stroke leaf blowers use a diaphragm carburetor instead.
Tools and Supplies for Carburetor Cleaning
Gather the correct tools before you begin. The exact screw type and carburetor design vary by brand and model.
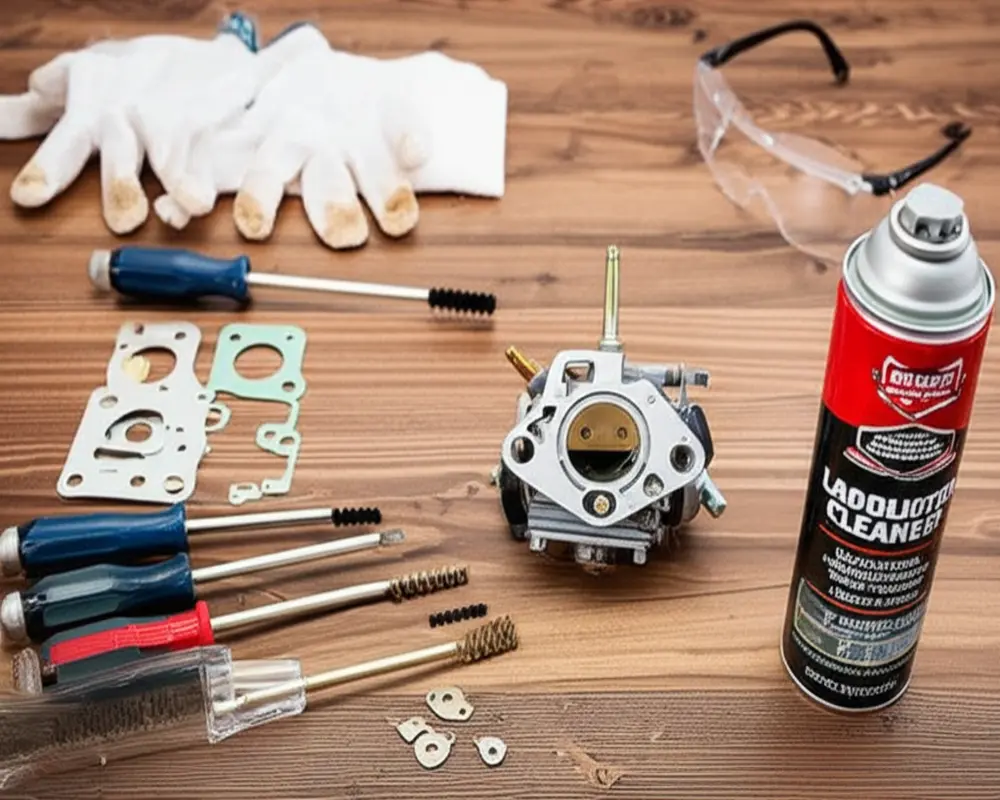
You may need:
- Your leaf blower’s owner’s or service manual
- Safety glasses
- Fuel-resistant gloves
- A clean workbench
- A small screwdriver set
- Torx drivers, if required
- Needle-nose pliers
- A small container for screws
- Carburetor cleaner
- Compressed air
- A clean brush
- Lint-free cloths
- Fresh fuel mixed at the correct ratio for a two-stroke engine
- Replacement gaskets, diaphragms, or primer bulb if damaged
- A phone or camera for taking photos during disassembly
Use a cleaner labeled for carburetor parts. Some strong solvents can damage rubber tips, plastic parts, paint, or diaphragms. Do not spray cleaner on the ignition coil, electronic parts, wiring, or painted surfaces unless the product instructions allow it.
Do not use a metal wire, drill bit, or needle to enlarge a jet. Even a small change in the jet opening can alter the fuel mixture and damage engine performance.
How to Clean a Leaf Blower Carburetor
1. Prepare the leaf blower safely
Move the blower outdoors or to a well-ventilated work area away from flames, sparks, heaters, and cigarettes. Allow the engine to cool completely.
Place the blower on a stable surface. Disconnect the spark plug wire so the engine cannot start by accident. On some models, the spark plug is difficult to reach, but disconnecting the plug wire is still a useful safety step.
Wipe dirt from around the fuel tank, air filter housing, and carburetor. Dirt can fall into the engine or carburetor if you remove parts before cleaning the outside.
2. Drain the fuel
Close the fuel valve if the blower has one. Drain the fuel tank into an approved gasoline container. Do not pour gasoline onto soil, into a drain, or into household trash.
If the fuel looks cloudy, dark, or contaminated, plan to replace it. Old fuel can quickly foul a clean carburetor.
Some manuals allow the engine to run until it stops. Draining the tank is safer for most cleaning jobs because it reduces the amount of fuel around the work area.
3. Remove the air filter and housing
Remove the air filter cover and take out the filter. Inspect the filter while it is removed.
- Wash a reusable foam filter with mild soap and water.
- Let it dry fully.
- Apply the type and amount of filter oil specified by the manual.
- Replace a damaged paper or foam filter.
Remove the air filter housing if it blocks access to the carburetor. Keep track of spacers, gaskets, screws, and linkages.
Take clear photos before disconnecting the throttle cable, choke linkage, fuel lines, or primer lines. A photo can prevent incorrect reassembly.
4. Label the fuel lines and linkages
Mark each fuel line before you remove it. Many carburetors have more than one line, and reversing them can stop the primer from working.
Use small pieces of masking tape or take close-up photos. Also note:
- Which line comes from the fuel tank
- Which line returns fuel to the tank
- Where the primer bulb lines connect
- How the throttle cable sits in its bracket
- How the choke linkage connects
Do not pull hard on old fuel lines. They can crack and leave pieces inside the carburetor fitting.
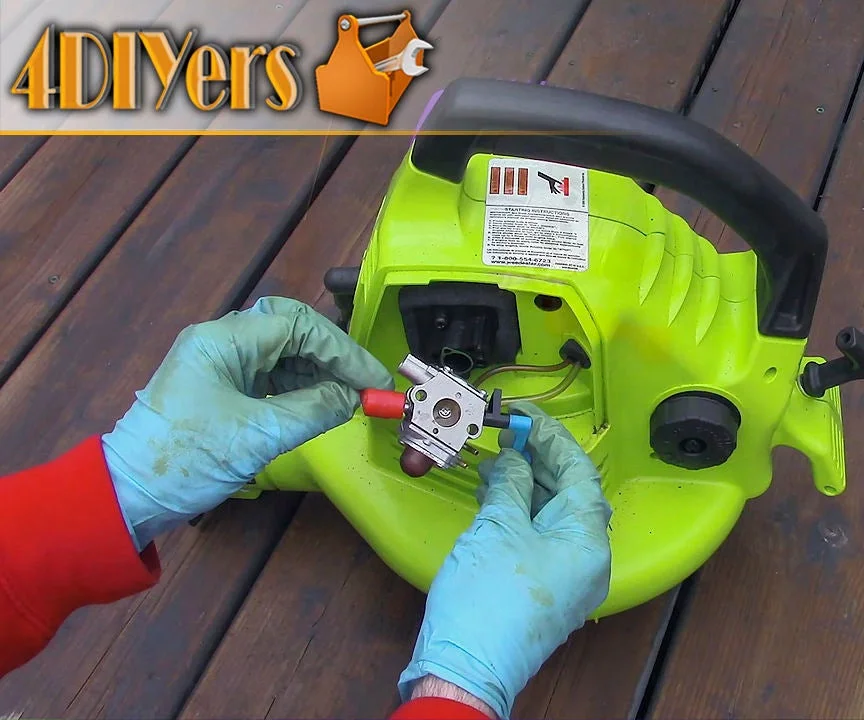
5. Remove the carburetor
Remove the mounting screws or nuts that hold the carburetor to the engine. Keep the carburetor gaskets in order.
If a gasket sticks to the engine or air-filter housing, remove it carefully. Do not scrape aluminum surfaces with a sharp blade. A damaged sealing surface can create an air leak.
Place the carburetor on a clean cloth. Cover the open intake area of the engine with a clean cloth so debris cannot enter.
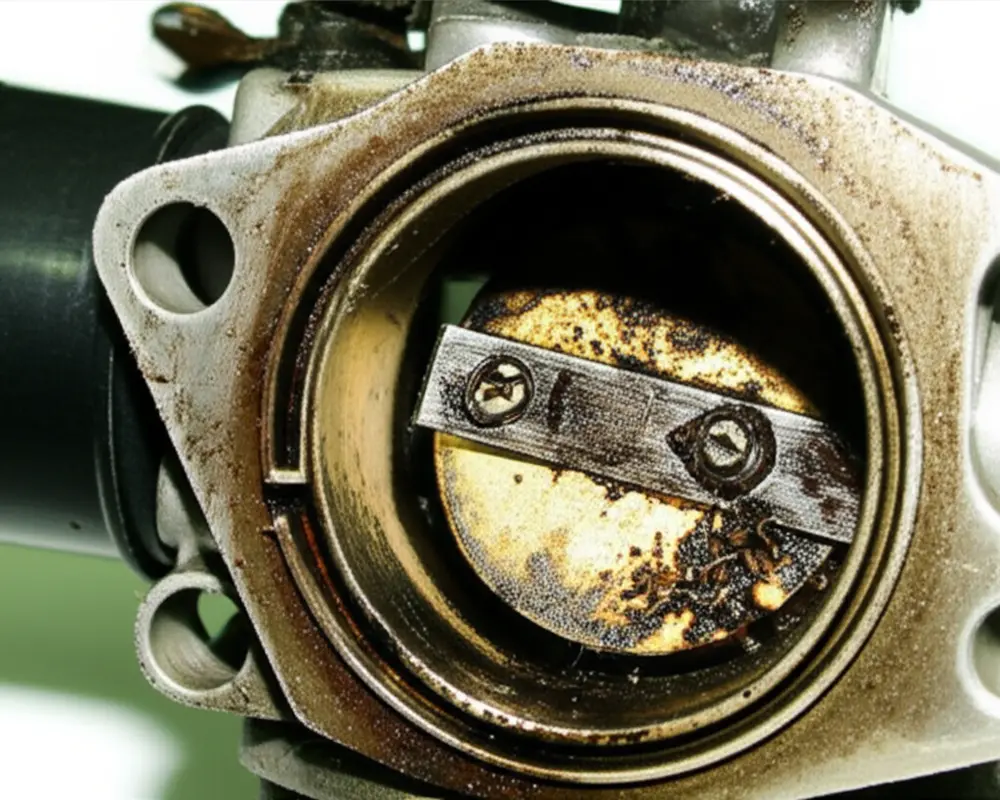
6. Inspect the carburetor before opening it
Look for:
- Green, brown, or white deposits
- Dirt around the fuel inlet
- Cracked fuel lines
- A stiff or torn diaphragm
- A damaged gasket
- A stuck needle valve
- A clogged jet
- A cracked primer bulb
- Corrosion inside the fuel chamber
If the carburetor is heavily corroded or the throttle shaft is loose, cleaning may not be enough. Replacement is often more practical than trying to restore worn parts.
7. Open the correct carburetor cover
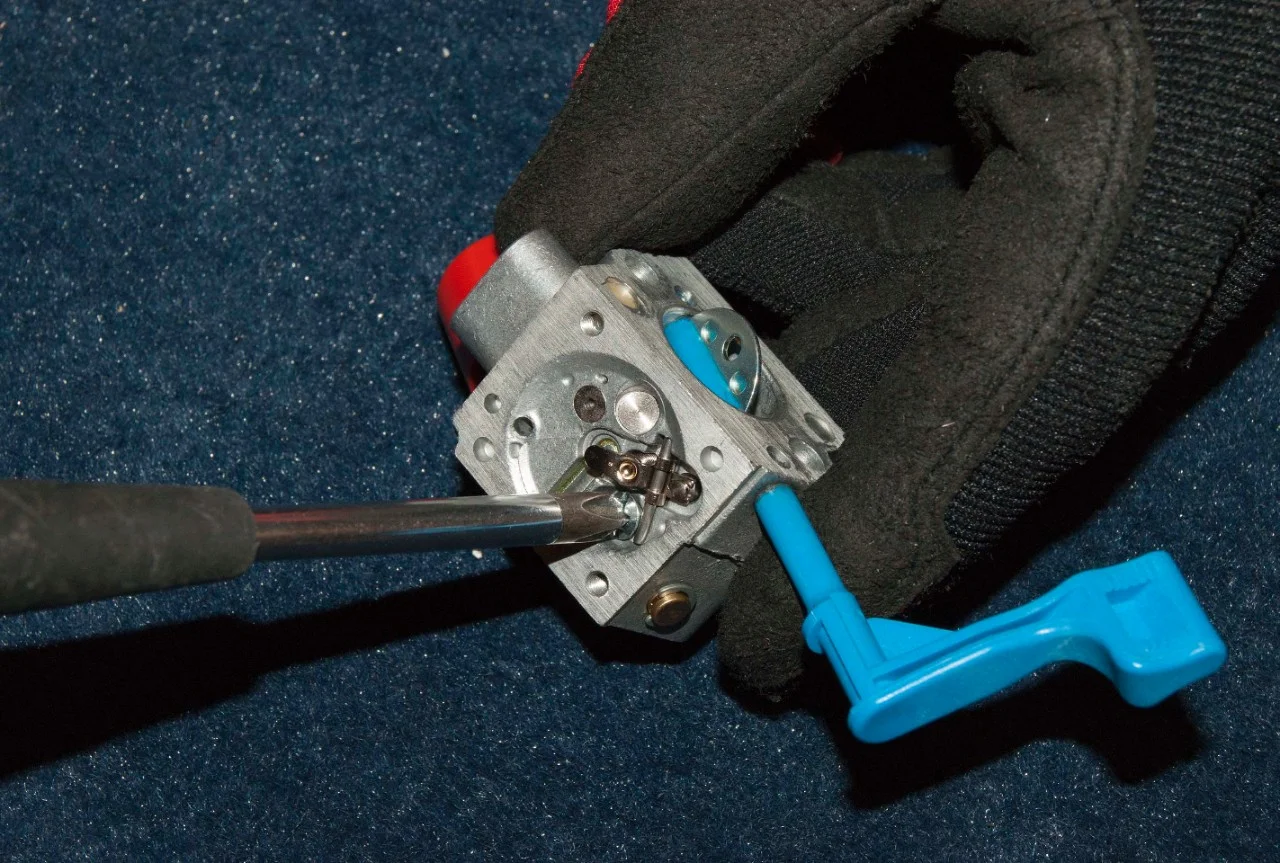
A diaphragm carburetor usually has one or more small covers held by screws. Under a cover, you may find a gasket and a flexible diaphragm.
Remove the layers in the order shown by the manual. Some designs use this order:
- Cover
- Gasket
- Diaphragm
Others use:
- Cover
- Diaphragm
- Gasket
The order matters. Installing a gasket or diaphragm in the wrong position can cause fuel starvation, flooding, or an air leak.
For a float-style carburetor, remove the bowl and inspect the float, needle valve, and main jet. Do not bend the float tab unless the service manual gives a specific adjustment procedure.
8. Clean the removable parts
Spray carburetor cleaner on metal parts and brush away residue. Clean the fuel bowl, jets, passages, needle valve area, and exterior surfaces.
Use short sprays. Keep the cleaner away from diaphragms, rubber tips, plastic parts, and painted surfaces unless the cleaner label says they are compatible.
Blow through passages with low-pressure compressed air. Hold small parts securely so they do not fly across the workbench.
Never look directly into a passage while spraying. Cleaner can spray back toward your eyes.
9. Clean the jets and fuel passages
Hold each jet toward a bright light. You should see a clean, open passage.
If a jet remains blocked:
- Spray it again with carburetor cleaner.
- Let the cleaner work for a short time.
- Use compressed air from both directions.
- Replace the jet if the blockage remains.
Do not force wire through the opening. A damaged jet can change the fuel flow and make the engine run too lean or too rich.
Clean the carburetor body’s fuel passages as far as you can reach without removing pressed-in plugs or sealed components. Do not drill out plugs unless the service manual gives that procedure.
10. Inspect and replace diaphragms and gaskets
A diaphragm should be flexible, flat, and free from cracks, holes, stiffness, or distortion. Replace it if it feels hard or looks damaged.
Replace gaskets that are:
- Torn
- Compressed
- Swollen
- Stuck to the wrong surface
- Wet with fuel and visibly distorted
A carburetor kit often includes gaskets, diaphragms, a needle valve, and a small screen. Match the kit to the exact carburetor model, not just the leaf blower brand.
11. Reassemble the carburetor
Let all cleaned parts dry before reassembly. Install the needle valve, screen, diaphragm, gasket, bowl, and cover in the correct order.
Tighten screws evenly. Do not overtighten small screws, since carburetor bodies can strip or crack.
Reconnect the fuel lines and throttle or choke linkages exactly as they were installed. Refit the carburetor with the correct gaskets and tighten the mounting screws evenly.
12. Add fresh fuel and test the blower
Use fresh fuel mixed according to the ratio printed in the owner’s manual or on the oil container. Do not guess the ratio.
Check for fuel leaks before starting the engine. If fuel leaks from a line, primer bulb, gasket, or carburetor, stop and correct the leak.
Start the blower according to the manual. Let it warm up, then test the throttle. A successful cleaning usually produces:
- Easier starting
- A stable idle
- Smooth throttle response
- No fuel leaks
- Strong, steady engine speed
Do not adjust the high-speed or low-speed mixture screws unless the manual provides an adjustment procedure. Some newer carburetors have limiter caps or fixed settings.
Cleaning Versus Replacing the Carburetor
Cleaning is reasonable when the carburetor has light varnish, dirt, or a blocked jet. Replacement may be the better choice when the carburetor body is cracked, badly corroded, or worn.
| Condition | Recommended action |
|---|---|
| Light dirt or varnish | Clean the carburetor |
| Blocked jet | Clean with approved solvent and air |
| Torn diaphragm | Install a diaphragm or rebuild kit |
| Cracked primer bulb | Replace the bulb |
| Brittle fuel lines | Replace the lines |
| Heavy corrosion | Compare replacement cost with repair time |
| Loose throttle shaft | Consider carburetor replacement |
| Repeated flooding after cleaning | Inspect the needle valve and replace worn parts |
| Engine still will not run | Test fuel delivery, spark, compression, and exhaust |
A new carburetor does not fix every starting problem. Confirm that fuel reaches the carburetor and that the engine has spark before ordering parts.
Troubleshooting After Cleaning
If the leaf blower still does not run, check the problem in a safe order.
The engine will not start
Check:
- The stop switch is in the run position.
- The spark plug wire is connected.
- Fresh, correctly mixed fuel is in the tank.
- The primer bulb fills with fuel.
- The choke is used as the manual describes.
- The spark plug is clean and produces a spark.
- Fuel lines are connected correctly.
- The air filter is not blocked.
If the engine floods, remove and dry the spark plug. Do not keep pulling the starter while raw fuel is leaking or pooling around the machine.
The engine starts and then dies
This often points to restricted fuel flow, a blocked tank vent, an incorrect fuel-line connection, or a damaged metering diaphragm. It can also result from an air leak between the carburetor and engine.
Check the fuel filter, fuel lines, carburetor gasket, and intake connection. Make sure the fuel cap vent is not blocked, but do not operate the blower with a loose cap as a permanent fix.
The engine runs but has weak power
Inspect the air filter, muffler screen, fuel filter, and exhaust outlet. Carbon buildup in the muffler screen can restrict exhaust flow.
A lean fuel mixture can also cause poor performance and excessive heat. Do not compensate by turning mixture screws at random. Use the manufacturer’s adjustment method or ask a qualified small-engine technician.
Fuel leaks from the carburetor
Stop using the blower. Inspect the fuel lines, primer bulb, bowl gasket, needle valve, and carburetor body.
Do not run the engine to “burn off” a fuel leak. Gasoline near a hot muffler creates a fire risk.
Common Mistakes to Avoid
Avoid these mistakes when cleaning a leaf blower carburetor:
- Cleaning the carburetor while it is still connected to the fuel supply
- Working near a flame, pilot light, or electrical spark
- Mixing up the fuel lines
- Installing a diaphragm backward
- Reusing a torn gasket
- Spraying solvent on rubber or plastic parts
- Poking jets with wire
- Losing the small needle valve spring
- Overtightening carburetor screws
- Using stale fuel after the repair
- Adjusting mixture screws without the correct procedure
- Running the blower without its air filter
- Pouring gasoline into a drain or onto the ground
The most common reassembly error is placing the diaphragm and gasket in the wrong order. Take photos before disassembly and compare each part with the manual.

How to Prevent Carburetor Problems
Use fresh fuel and store the blower correctly. Fuel quality and storage time have a major effect on small-engine carburetors.
For seasonal storage:
- Follow the owner’s manual for fuel treatment or draining.
- Do not leave untreated fuel in the carburetor for long periods.
- Run the engine only if the manual recommends that method.
- Store the blower in a dry place away from heat and ignition sources.
- Replace cracked fuel lines before the next season.
- Keep the air filter clean.
- Use the correct two-stroke oil and fuel ratio.
Fuel stabilizer can help preserve fuel during storage, but it cannot repair fuel that is already stale or remove heavy deposits from a carburetor.

When to Get Professional Help
Stop the repair and contact a qualified small-engine technician when:
- Fuel continues to leak after new gaskets and lines
- The fuel tank or carburetor is cracked
- The engine has no spark after basic checks
- The starter cord or flywheel has mechanical damage
- The engine may have low compression
- The blower overheats or makes unusual knocking sounds
- You are unsure how to set mixture screws
- The carburetor uses sealed or model-specific adjustments
- The repair requires removing the flywheel or engine
Gasoline vapors are flammable, and a lean-running two-stroke engine can suffer internal damage. A professional can test spark, compression, fuel delivery, and air leaks instead of replacing parts at random.
Key Takeaways
- A dirty carburetor can cause hard starting, stalling, surging, and weak acceleration.
- Drain the fuel, disconnect the spark plug wire, and work in a ventilated area.
- Photograph fuel lines and linkages before removing them.
- Use approved carburetor cleaner and compressed air.
- Never enlarge jets with wire or drill bits.
- Replace damaged diaphragms, gaskets, fuel lines, and primer bulbs.
- Use fresh fuel mixed to the ratio listed in the owner’s manual.
- If cleaning does not work, check the spark plug, fuel filter, air filter, fuel lines, muffler, and compression.
Frequently Asked Questions
Can I clean a leaf blower carburetor without removing it?
You can spray cleaner around the outside and air intake, but this usually does not remove deposits inside the jets or fuel passages. A thorough cleaning normally requires removing the carburetor or at least opening its service covers.
Can I use brake cleaner to clean a carburetor?
Use a product labeled for carburetors instead. Brake cleaner may damage some rubber, plastic, paint, or diaphragm materials. Always read the product label and keep solvent away from ignition sources.
How often should I clean a leaf blower carburetor?
There is no fixed cleaning interval. Clean it when symptoms or inspection show contamination. Regular use of fresh fuel, proper storage, and a clean air filter can reduce the need for carburetor service.
Why does my leaf blower start with starting fluid but not run?
Starting fluid can make an engine fire briefly even when fuel is not reaching the cylinder. Possible causes include a blocked carburetor, incorrect fuel-line connection, clogged fuel filter, failed primer system, or damaged diaphragm. Do not rely on starting fluid as a repair.
Should I replace or rebuild the carburetor?
Rebuild the carburetor when the body is sound and the problem is limited to gaskets, diaphragms, a needle valve, or dirt. Replace it when the body is cracked, badly corroded, worn, or more expensive to rebuild than to replace.
Conclusion
Cleaning a leaf blower carburetor is a practical repair when old fuel or debris restricts fuel flow. The safest method is to identify the carburetor type, document every connection, clean passages without damaging jets, replace worn soft parts, and test the blower with fresh fuel.
If the blower still fails after cleaning, stop replacing parts blindly. Check fuel delivery, ignition, air flow, exhaust restriction, and compression, or have a qualified technician diagnose the engine.