
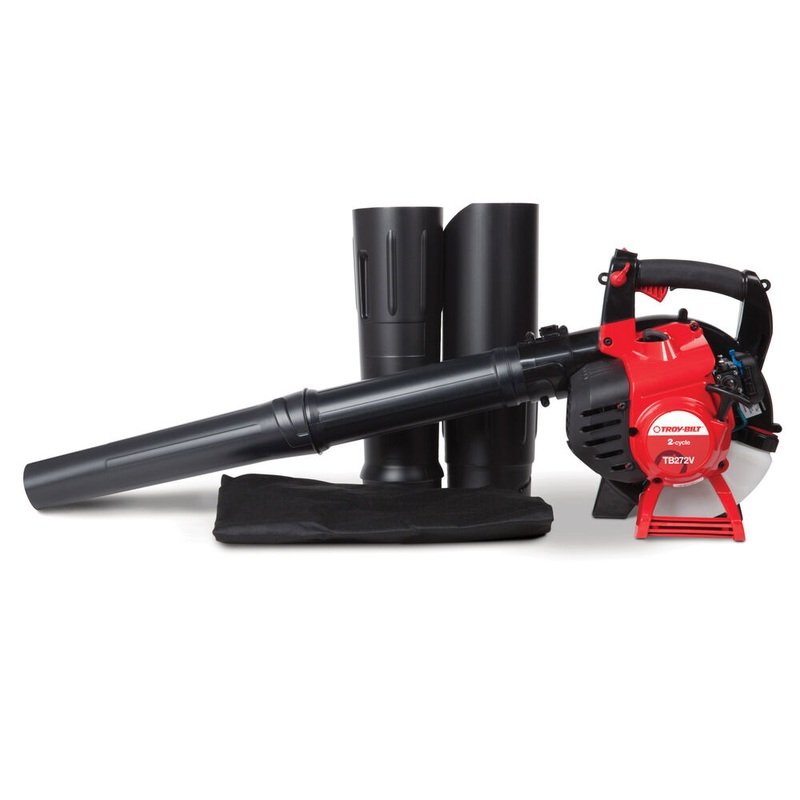
A leaf blower vacuum works as both a blower and a yard vacuum. In the United States, homeowners commonly use it to clear leaves from lawns, driveways, sidewalks, patios, and garden beds. To use one, switch the machine to vacuum mode, attach the collection bag, keep the intake tube low, and move slowly over dry leaves. Empty the bag before it becomes heavy or full.
The exact switch, tube, and bag design vary by model. Always check the owner’s manual before starting. This guide covers corded electric, battery-powered, and gas-powered leaf blower vacuums.

What Is a Leaf Blower Vacuum?
A leaf blower vacuum is a two-function outdoor power tool. It pulls leaves and light yard debris through an intake tube, breaks some of the material into smaller pieces, and stores it in a collection bag.
Most models have three functions:
- Blower mode: Pushes leaves and debris with moving air.
- Vacuum mode: Pulls leaves into the intake tube.
- Mulch mode: Cuts leaves into smaller pieces as they pass through an internal impeller.
The blower function is best for moving leaves into a pile. The vacuum function is best for picking up small piles from hard surfaces, lawn edges, and tight spaces.
Blower vacuum versus regular leaf blower
A regular leaf blower only moves debris. A blower vacuum can collect it, but it usually has a smaller intake opening and lower practical pickup capacity than a dedicated yard vacuum.
A blower vacuum works well for:
- Dry leaves
- Small twigs
- Grass clippings
- Pine needles
- Light debris on patios and walkways
It is not designed to collect:
- Stones
- Gravel
- Large sticks
- Wet, packed leaves
- Metal objects
- Glass
- Animal waste
- Liquids
The internal impeller can clog or suffer damage when it pulls in hard or wet material.
What the mulch ratio means
Some models list a mulch ratio, such as 10:1 or 16:1. This means the machine claims to reduce the volume of leaves by that amount under stated test conditions.
For example, a 10:1 ratio may turn 10 bags of loose leaves into about 1 bag of shredded material. This does not mean the machine makes the leaves weigh less. It only reduces their bulk.
Actual results depend on leaf type, moisture, feed rate, and machine design. Dry, thin leaves usually mulch more easily than damp oak leaves or long, stringy pine needles.
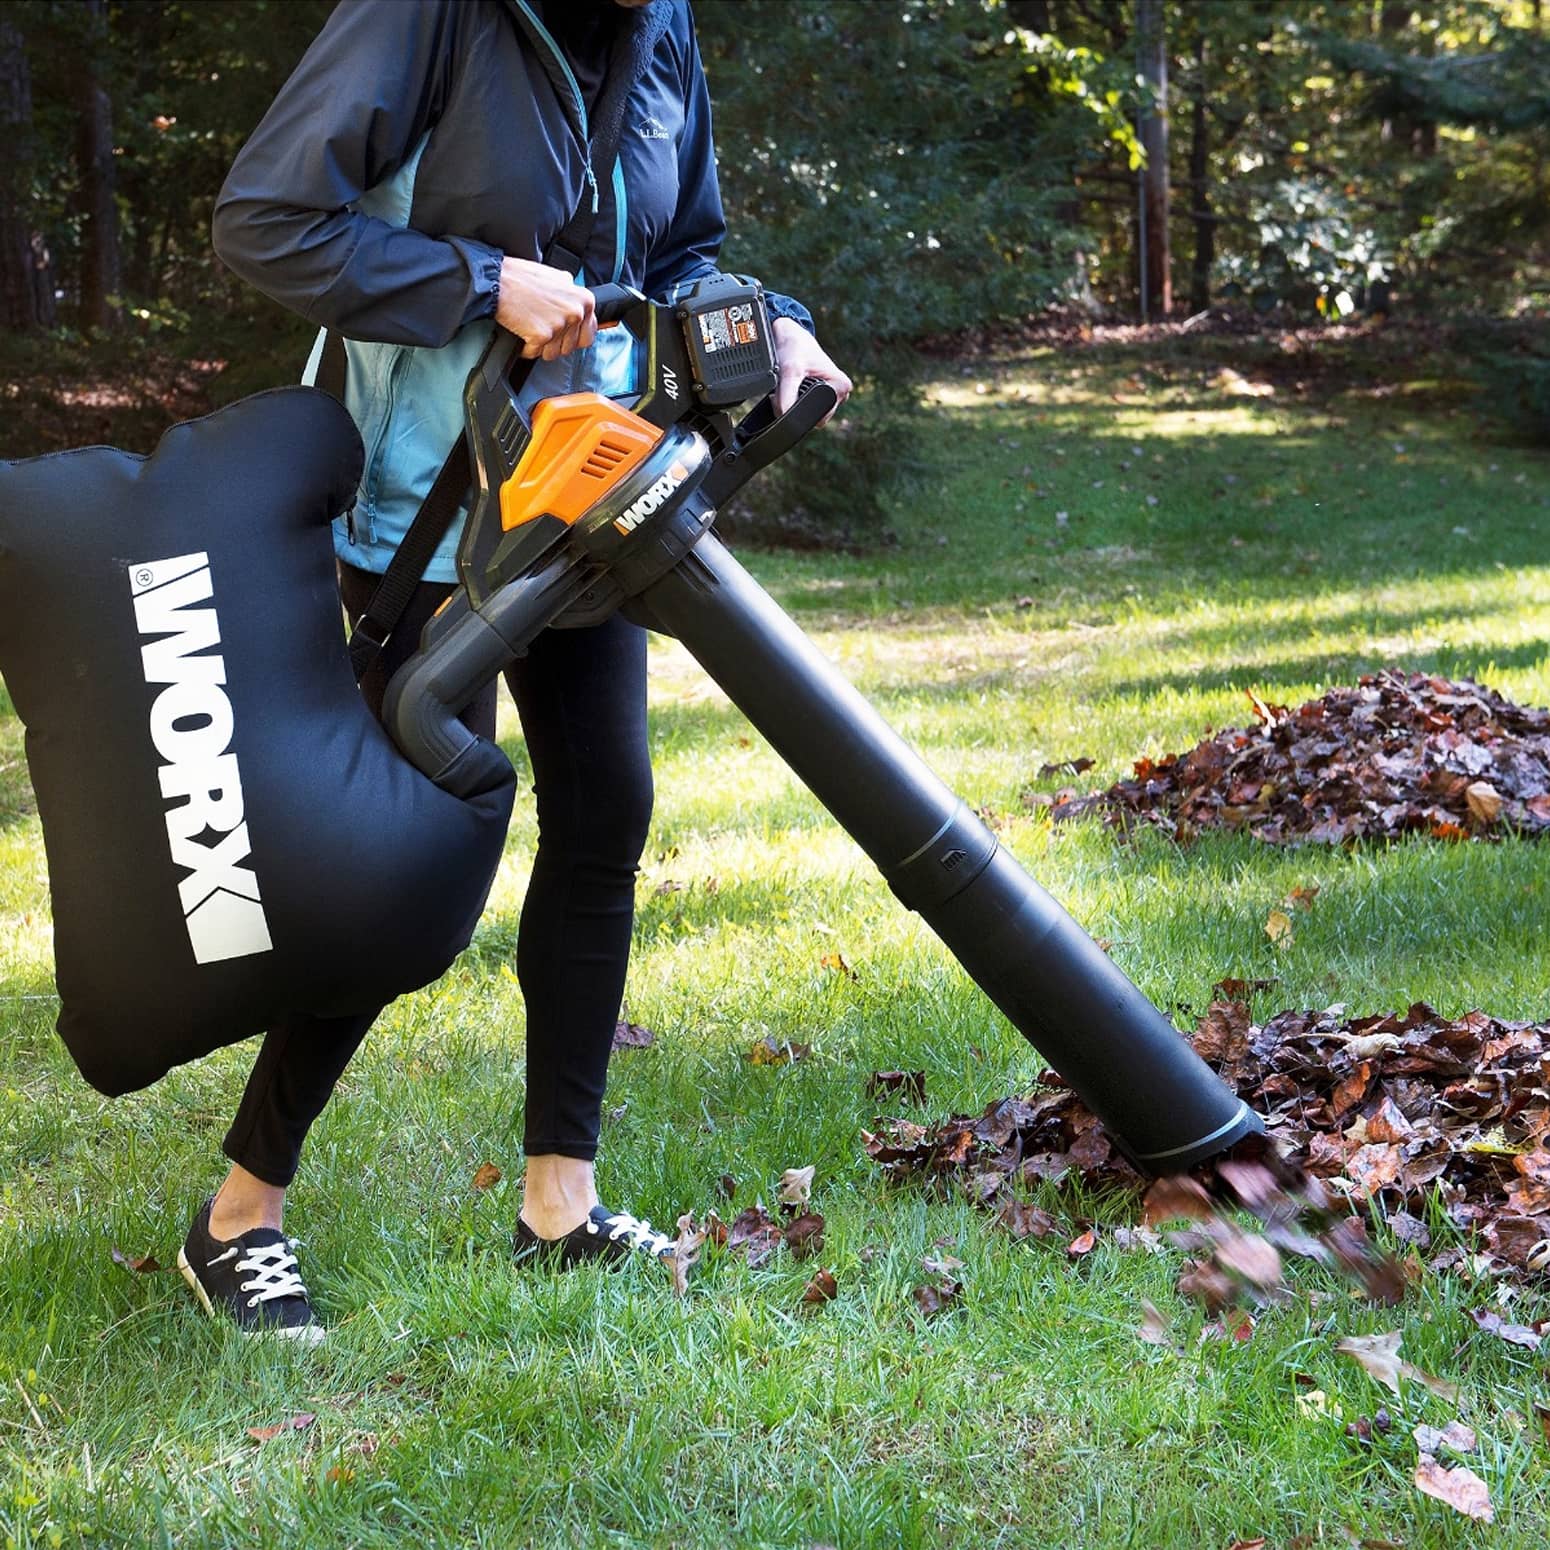
What You Need Before Using a Leaf Blower Vacuum
Prepare the work area before turning on the machine. Good preparation reduces clogs, protects the impeller, and helps prevent injuries.
You may need:
- The leaf blower vacuum
- Vacuum tube or intake attachment
- Collection bag
- Battery and charger, if required
- Correct extension cord for a corded model
- Safety glasses or goggles
- Hearing protection
- Work gloves
- Long pants and sturdy, closed-toe shoes
- A rake for large piles
- A tarp, compost bin, or yard-waste bag
Inspect the machine
With the machine switched off and unplugged, inspect:
- The power cord, plug, or battery housing
- The vacuum tube
- The collection bag and zipper
- The blower housing
- Intake and discharge openings
- Screws, guards, and fasteners
Do not use a machine with a damaged cord, cracked housing, loose guard, torn bag, or missing safety part.
For a gas model, check the fuel level and look for fuel leaks. Use only the fuel type and mixture stated in the manual.
Clear the area
Walk over the work area before vacuuming. Remove rocks, toys, wire, plant labels, hoses, and large branches.
Mark or avoid hidden objects near leaf piles. Leaves can conceal objects that the vacuum may pull in without warning.
Choose dry conditions
Leaf blower vacuums work best with dry or slightly dry leaves. Wet leaves are heavier and may stick inside the tube or bag. Damp material can also pack into a dense plug that is hard to remove.
If leaves are wet, let them dry when practical. If you must move them, use a rake or shovel instead of forcing them through the vacuum.

How to Use a Leaf Blower Vacuum Step by Step
The safest method is to gather leaves first, then vacuum a small section at a time. Do not try to use the vacuum as a replacement for a rake on a deep, wet pile.
1. Read the controls and manual
Find the following parts before starting:
- Power switch
- Blower and vacuum selector
- Speed control
- Tube release or locking mechanism
- Collection bag connection
- Choke and primer, if it is a gas model
- Clog access point
Some machines require a complete tube or impeller conversion before they can vacuum. Others use a lever or switch. Do not guess. Use the setup shown in the manual.
2. Install the vacuum tube
Turn the machine off. Disconnect the plug or remove the battery. For a gas model, stop the engine and let hot parts cool.
Attach the vacuum tube until it locks in place. A loose tube can come off during use or expose the intake opening.
Never operate the machine in vacuum mode without the required tube, guard, or cover. These parts help keep hands away from the impeller.
3. Attach the collection bag
Connect the bag to the correct outlet. Close the zipper or fastener before use.
Keep the bag away from the exhaust on gas-powered models. A blocked or damaged bag can reduce airflow and may cause the machine to perform poorly.
Do not use a torn bag. Fine leaf dust can escape through a damaged bag and enter your eyes or lungs.
4. Start the machine safely
Place the machine on a stable surface. Keep the intake away from your feet and clothing.
For a battery model, insert a charged battery only after the tube and bag are secure. For a corded model, use an outdoor-rated extension cord that matches the manual’s length and wire requirements.
For a gas model, follow the starting steps in the manual. These may include setting the choke, pressing a primer bulb, and pulling the starter cord.
5. Make a small leaf pile
Use the blower setting to move scattered leaves into a shallow pile. Work with the wind when possible.
A shallow pile feeds more evenly than a tall pile. Large piles can block the tube and force you to stop often.
Keep leaves away from storm drains. Leaves can block drains and carry yard waste into waterways.
6. Switch to vacuum mode
Once the machine is running and the bag is attached, select vacuum mode. Start at a low or medium speed if the model allows speed control.
Hold the tube a short distance above the leaves. Do not press the tube hard into the ground. Let the airflow pull the leaves in.
Move the tube from side to side with slow, steady passes. Feed only a small amount at a time.
7. Keep the tube moving
A moving tube helps prevent bridges, plugs, and uneven feeding. If the motor pitch changes, the airflow drops, or the tube stops collecting, stop the machine and inspect it.
Do not push your hand, a stick, or a tool into the tube while the machine is connected to power or running.
8. Watch the collection bag
Stop and empty the bag when it is about half to three-quarters full, or sooner if the manual says so.
A full bag reduces airflow and adds weight. Dragging a heavy bag can strain the connection point or your back.
Hold the bag upright while carrying it. Fine mulch can escape through the zipper if the bag is shaken or tipped.
9. Stop and disconnect before clearing a clog
If the vacuum clogs:
- Release the power switch.
- Unplug the cord or remove the battery.
- For a gas model, stop the engine and wait for all moving parts to stop.
- Allow hot parts to cool.
- Open the approved access point.
- Remove the blockage with a gloved hand only after the machine is fully isolated from power.
- Check the tube, impeller area, and bag connection.
- Reassemble all guards before restarting.
If the clog returns, stop using the machine. The material may be too wet, too large, or unsuitable for the tool.
10. Finish with a blower pass
After vacuuming, switch back to blower mode if your machine allows it. Clear small leaf fragments from hard surfaces and lawn edges.
Never change modes while the motor is running unless the manual specifically says the model supports that action.

How to Vacuum Leaves More Efficiently
The best technique depends on the surface and the type of debris.
On a lawn
Raise the vacuum tube slightly above the grass. Keep the tube moving so it does not pull up soil, mulch, or loose turf.
Work in narrow strips. If the leaves form a thick layer, remove the top layer first, then collect the rest.
Do not vacuum large amounts of soil. Soil can wear the impeller and create fine dust.
On a driveway or sidewalk
Use a shallow leaf pile. Keep the tube just above the surface.
Watch for gravel and sand. A vacuum can pull these materials into the impeller, where they may cause noise, damage, or rapid wear.
Around mulch and flower beds
Use a lower speed if available. Keep the tube several inches above loose mulch.
Vacuum only the leaves you intend to remove. A strong intake can also pull in mulch, small plants, and soil.
For pine needles
Pine needles may feed slowly or form a mat. Break up the layer with a rake first.
If the tube clogs repeatedly, use a rake or a dedicated yard vacuum. Do not keep forcing the machine through a dense mat.
For large amounts of leaves
Use the blower to gather leaves, then vacuum in small batches. A tarp can help move large amounts of dry leaves to a compost area or yard-waste container.
A dedicated wheeled yard vacuum may be a better fit for a large property. A handheld blower vacuum is easier to carry but usually has limited bag capacity.

Leaf Blower Vacuum Settings and Surfaces
Use the lowest setting that collects the material. High speed is not always better.
| Surface or material | Suggested approach | Main caution |
|---|---|---|
| Dry leaves on pavement | Use a shallow pile and slow passes | Avoid gravel and sand |
| Dry leaves on grass | Hold the tube slightly above turf | Do not pull up soil |
| Leaves near mulch | Use low speed and a raised tube | Mulch can enter the tube |
| Damp leaves | Let them dry first | Wet material can clog |
| Pine needles | Loosen with a rake | Dense mats feed poorly |
| Small grass clippings | Vacuum in light amounts | Bag may fill quickly |
| Twigs | Remove by hand if larger than the manual allows | Hard pieces can damage the impeller |
The manual is the final source for approved material size and operating limits. Manufacturer instructions differ.

Common Problems and How to Fix Them
The leaf blower vacuum will not start
Possible causes include:
- The battery is not charged
- The battery is not fully seated
- The cord is unplugged
- The outlet or ground-fault circuit interrupter has tripped
- A safety switch is not engaged
- The tube or cover is not locked
- The gas model has an incorrect starting setting
- The fuel is old or contaminated
Disconnect the power source before checking the tube, cover, or safety switch. For gas models, follow the starting procedure in the manual. Do not bypass a safety switch.
The machine has weak suction
Weak suction may result from:
- A full collection bag
- A clogged tube
- A blocked impeller
- A loose tube connection
- Wet leaves
- A damaged bag
- Low battery charge
- A dirty air filter on a gas model
Empty the bag first. Then disconnect power and inspect the tube and intake. If the machine still lacks suction, stop using it until the cause is known.
The motor sounds strained
A strained sound often means the machine is pulling in too much material or the airflow is restricted.
Stop the machine and disconnect it. Check for wet leaves, a full bag, a blockage, or a foreign object. Do not continue running the machine in a strained condition.
The bag does not fill
Check that:
- The machine is in vacuum mode
- The bag is connected to the correct outlet
- The zipper is closed
- The tube is locked
- The bag fabric is not clogged with dust
- The intake is not blocked
A dirty bag can restrict airflow. Clean it only as the manual permits, and let it dry fully before reuse.
The impeller makes a rattling sound
Turn off and disconnect the machine at once. A stone, twig, or other hard object may be inside.
Do not keep operating the vacuum to “break up” the object. That can turn a small blockage into impeller damage.

Leaf Blower Vacuum Safety Rules
A leaf blower vacuum has a fast-moving impeller. Treat it as a cutting and impact hazard, not just a fan.
Follow these rules:
- Wear eye protection.
- Wear hearing protection around gas models and loud electric models.
- Keep children, pets, and bystanders away from the work area.
- Wear sturdy shoes and avoid loose clothing.
- Never point the blower at people, animals, vehicles, or windows.
- Do not vacuum liquids.
- Do not use the tool in rain unless the manufacturer specifically approves it.
- Never operate a gas model in a garage, shed, or other enclosed space.
- Keep the cord behind you when using a corded model.
- Use only outdoor-rated extension cords approved for the tool.
- Do not carry the machine by its power cord.
- Do not touch the impeller while it can move.
- Disconnect power before clearing a clog, changing attachments, or inspecting the tool.
- Let a gas engine cool before refueling.
- Stop work if you feel tired or lose control of the tool.
The U.S. Consumer Product Safety Commission provides general guidance on outdoor power equipment safety. The CPSC lawn and garden equipment safety page includes related precautions. Your owner’s manual remains the controlling source for the specific machine.

Cleaning and Storing a Leaf Blower Vacuum
Clean the machine after each major use. Fine dust can restrict airflow and wear moving parts.
First, disconnect the power source. Empty the bag and shake out loose debris outdoors. Inspect the tube, intake, impeller area, vents, and bag connection.
Clean the collection bag according to the manual. Some bags can be washed, while others should only be brushed or wiped. Store the bag dry to help prevent mildew.
For a battery model, remove the battery before storage and follow the battery maker’s temperature and charging instructions. For a corded model, coil the cord loosely to avoid damage.
For a gas model, follow the manual’s storage steps. These may include draining or stabilizing fuel, cleaning the air filter, and storing the machine in a dry, ventilated location away from ignition sources.

Key takeaways: Use the blower to gather leaves, then switch to vacuum mode with the tube and collection bag secured. Vacuum dry leaves in small amounts, keep the tube moving, empty the bag before it becomes heavy, and disconnect all power before clearing a clog.
Frequently Asked Questions
Can you use a leaf blower vacuum on wet leaves?
You usually should not. Wet leaves are heavy and can stick inside the tube, impeller, or bag. Let them dry when possible, or remove them with a rake.
Can a leaf blower vacuum pick up acorns?
Some models may handle small acorns, but hard objects can damage the impeller. Check the manual’s approved material limits and remove acorns by hand or rake when possible.
Can you vacuum leaves without the bag attached?
No. The collection bag is part of the vacuum system. Operating without it can release debris and expose the discharge opening.
Why does my leaf vacuum keep clogging?
The most common causes are wet leaves, too many leaves at once, large twigs, a full bag, or a blocked tube. Use dry material, feed smaller amounts, and inspect the machine only after disconnecting power.
Is a leaf blower vacuum good for pine needles?
It can work on loose, dry pine needles. Dense mats may clog the tube or feed poorly. Loosen the needles with a rake first and use a low setting if available.
Can I put shredded leaves in compost?
Shredded leaves can be useful as a carbon-rich compost material. Mix them with wetter, nitrogen-rich materials such as fresh grass clippings or vegetable scraps. Do not compost leaves contaminated with chemicals, animal waste, or disease unless your local guidance permits it.
How often should I empty the vacuum bag?
Empty it when it becomes about half to three-quarters full, when airflow drops, or when the bag becomes uncomfortable to carry. Follow the model’s instructions if they give a different limit.
Final Recommendation
Use a leaf blower vacuum in two stages: gather leaves with the blower, then collect small amounts with the vacuum. Dry material, a clear work area, a secure tube, and a partly empty bag give the best results.
If the machine clogs, sounds strained, loses suction, or pulls in hard objects, stop it and disconnect the power before checking it. For large piles, wet leaves, gravel, or heavy debris, a rake or dedicated yard vacuum is often the safer and more effective tool.