
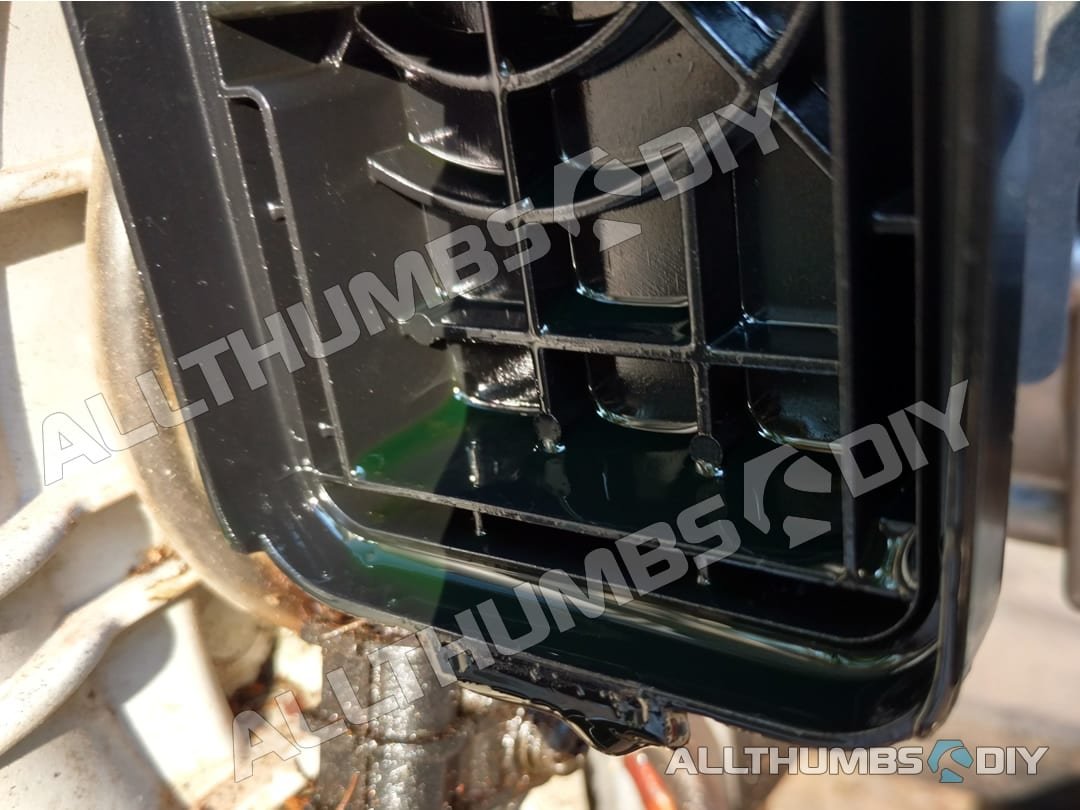
A gas leaf blower usually leaks fuel because of a damaged fuel line, loose fuel cap, cracked primer bulb, worn carburetor part, overfilled tank, or fuel damage caused by age and ethanol. Stop the engine, move the blower outdoors, and keep it away from sparks before you inspect it.
Gasoline vapors can catch fire. Do not start or test a leaking leaf blower inside a garage, shed, basement, or home. If fuel sprays, pools, reaches a hot engine, or continues to leak after basic checks, stop and use a qualified small-engine repair shop.
This guide applies to common gasoline-powered leaf blowers sold and used in the United States. The exact parts and fuel mix depend on the brand and model. Always follow the owner’s manual for fuel type, oil ratio, service steps, and replacement parts.

First: Find Where the Gas Is Coming From
The leak location often points to the failed part. Wipe the outside of the blower with a clean rag, place the tool on a dry surface outdoors, and watch for fresh fuel. Do not touch gasoline with bare skin, and do not use a flame or heat source to find the leak.
Use this guide:
| Leak location | Likely cause |
|---|---|
| Around the fuel cap | Loose, damaged, or missing cap seal |
| From the cap vent | Overfilled tank, heat expansion, or blocked vent |
| Near the primer bulb | Cracked bulb, loose hose, or damaged bulb seal |
| Along the fuel hose | Cracked, hardened, loose, or incorrect hose |
| Below the carburetor | Stuck inlet needle, worn seat, bad gasket, or loose bowl |
| From the carburetor throat | Flooding or a needle valve that does not close |
| From the fuel tank | Cracked tank, damaged tank grommet, or bad outlet |
| Only when tilted | Fuel cap, tank vent, hose routing, or carburetor overflow |
| Only after storage | Dried seals, stale fuel, or a stuck carburetor part |
A small wet spot may grow after the engine warms or the blower is moved. Gasoline can also travel along plastic and metal, so the highest wet point is not always the source.
Check whether the leak is active
If fuel is dripping quickly, close the fuel shutoff valve if your blower has one. If it does not, place the blower in a safe outdoor position where spilled fuel cannot reach a drain, soil, flame, vehicle, or electrical equipment.
Do not run the blower to “burn off” the leaking fuel. Fuel may reach the muffler, ignition system, or hot cylinder. It can also cause a fire or engine damage.

Common Reasons a Leaf Blower Leaks Gas
Most leaks come from fuel-system parts that age, swell, crack, or fail to seal. Gasoline with ethanol can be especially hard on older hoses, bulbs, gaskets, and plastic parts when fuel is left in the tool for long periods.
1. The fuel cap does not seal
A fuel cap may leak when its gasket is cracked, flattened, dirty, or missing. A cross-threaded cap can also leave a gap. Some caps include a vent. If the vent is damaged or blocked, pressure may push fuel out around the cap.
Inspect the cap for:
- A torn or hard gasket
- A missing seal
- Damaged threads
- Cracks in the cap
- Dirt around the vent
- A cap that turns without tightening
Replace the cap with the correct part for your model. Do not seal the cap with tape, glue, or household caulk. Those materials may fail when exposed to fuel and may block a required vent.
2. The fuel tank is overfilled
Gasoline expands as it warms. A tank filled to the very top has little room for that expansion. Fuel may then escape through the cap vent or tank opening.
Let the blower cool before adding fuel. Fill only to the level stated in the owner’s manual. Keep fuel away from the threads and outside of the tank opening.
If the blower leaks after sitting in a warm vehicle, shed, or direct sun, overfilling or heat expansion is a strong possibility. This does not rule out a damaged cap or vent.
3. A fuel line is cracked or loose
Fuel hoses become hard and brittle with age. Vibration can loosen a hose from the tank, primer bulb, or carburetor. A hose may also split near a clamp or at a sharp bend.
Look for:
- Wetness along the hose
- Hairline cracks
- White, swollen, or soft areas
- A hose that pulls off its fitting
- A loose clamp
- A hose pinched under the fuel tank
Use fuel-rated hose with the correct inside diameter. Ordinary clear tubing is not a safe substitute. On many two-stroke blowers, the fuel lines have different functions and may connect to different ports. Photograph the routing before removal.
4. The primer bulb is cracked
The primer bulb pulls fuel through the carburetor before starting. A brittle bulb can develop a pinhole or split around its base. Fuel may leak when you press it, or it may seep slowly while the blower sits.
Replace a damaged primer bulb with the correct size and shape. Some bulbs attach directly to the carburetor. Others connect through fuel hoses. The repair method depends on the design.
Do not keep pressing a leaking bulb. It will push more fuel into the area and may flood the engine.
5. The carburetor inlet needle is stuck
The carburetor uses an inlet needle and seat to control fuel entering its bowl or metering chamber. If the needle stays open, fuel can continue flowing after the engine stops.
A stuck needle may result from:
- Stale gasoline
- Dirt or varnish
- A damaged needle tip
- A worn seat
- A swollen gasket
- A bent float on designs that use a float
Typical signs include fuel dripping from the carburetor, fuel coming from the air-filter side, hard starting, black exhaust smoke, or an engine that quickly floods.
Carburetor cleaning may help when dirt is the cause. It will not fix a worn needle, damaged seat, failed gasket, or warped carburetor body. If the carburetor has several small parts, use the model’s service instructions rather than guessing.
6. A carburetor gasket or bowl seal has failed
Some blowers have a carburetor bowl. Others use a diaphragm-style carburetor with gaskets and diaphragms. A gasket that has hardened, shrunk, or been installed backward can allow fuel to escape.
A loose bowl screw can also cause a leak, but overtightening can warp the bowl or damage the threads. Tighten fasteners only to the specification in the service manual.
Replace gaskets with the correct kit. Do not use paper, silicone, or homemade gasket material unless the manufacturer specifically allows it.
7. The fuel tank or tank grommet is damaged
A plastic tank can crack after impact, freezing, or long-term aging. The fuel outlet often uses a rubber grommet. That grommet can shrink or split and allow fuel to leak around the outlet.
A tank leak is not a good candidate for a temporary patch. Fuel-resistant epoxy may not hold against vibration, heat, and gasoline exposure. Replace the tank or the approved tank fitting.
8. The blower is stored on its side
A leaf blower may leak when placed on the wrong side. Fuel can move through the carburetor, tank vent, or cap. The owner’s manual may show a required storage position.
If the blower leaks only when tilted, place it in the manufacturer’s recommended position and inspect the cap, hoses, carburetor, and tank. Do not assume that position alone is the whole problem. A healthy fuel system should not leak under normal handling.
How to Troubleshoot a Gas-Leaking Leaf Blower Safely
Use this order because it starts with simple external causes and avoids unnecessary carburetor work.
Step 1: Stop the engine and control the fuel
Turn the ignition switch off. Let the engine cool outside. If the model has a fuel valve, close it.
Move the blower away from ignition sources. Do not smoke, use a shop light with a hot bulb, operate a space heater, or create sparks near the fuel. Keep children and pets away.
Step 2: Drain or contain the fuel
If the owner’s manual permits it, drain the fuel into an approved gasoline container. Use a hand siphon made for fuel, not your mouth. Do not pour gasoline onto the ground or into a household drain.
If the leak is severe, do not attempt to drain the tank while fuel is running over the engine. Place the tool in a safe outdoor area and contact a repair professional.
Step 3: Clean and dry the outside
Remove fuel from the housing with absorbent material. Let the blower dry fully. Cleaning makes it easier to identify the fresh leak.
Dispose of fuel-soaked rags according to local fire and waste rules. Do not leave them in a pile inside a garage or home.
Step 4: Inspect the cap and tank
Check the cap seal, threads, vent, and tank neck. Look for cracks around the tank and wetness near the fuel outlet.
Replace a damaged cap or tank. Do not modify the vent or use a non-approved cap.
Step 5: Inspect the fuel lines and primer bulb
Follow every hose from the tank to the primer bulb and carburetor. Check both ends. Replace any hose that is brittle, swollen, cracked, or loose.
Press the primer bulb only if the system is dry and the bulb is intact. If fuel appears around the bulb, stop and replace the bulb or its connecting hose.
Step 6: Inspect the carburetor
If fuel comes from the carburetor, the inlet needle, gasket, bowl, diaphragm, or fuel-control system may be at fault. Remove the air filter only after the blower is cool and the area is free of fuel vapors.
Do not spray large amounts of carburetor cleaner into a carburetor while the blower is assembled. The spray can damage some plastics and seals. It can also create flammable vapor.
Step 7: Replace the failed part and retest carefully
Use the exact replacement part or a part listed for the model. Reconnect hoses in their original positions. Confirm that the throttle, choke, air filter, and fuel lines are correctly installed.
Add only the correct fuel mixture and a small amount of fuel for the first test. Test outdoors, away from buildings. Start the engine only after you see no wet fuel and smell no strong vapor.
If fuel appears again, shut the engine off at once. Do not keep testing to identify the leak.

Two-Cycle Fuel Mistakes Can Cause Leaks and Engine Problems
Many gas leaf blowers use two-cycle engines. These engines need gasoline mixed with two-cycle oil. The correct ratio is not universal.
Common ratios include 50:1 and 40:1, but the correct ratio depends on the manufacturer and model. Use the owner’s manual or the fuel label specified by the manufacturer. Adding extra oil does not repair a leak. It can increase smoke, foul the spark plug, and affect engine performance.
Use fresh fuel from a clean, approved container. Fuel that has absorbed water or degraded over time can leave deposits in the carburetor. Those deposits may cause the inlet needle to stick open.
Do not mix fuel in an unmarked container. Label the container clearly and store it in a cool, well-ventilated place away from flames and living areas. Follow local rules for gasoline storage and disposal in your state or community.
Should you use ethanol-free gasoline?
Ethanol-free gasoline may be useful for small engines when it is available and approved by the manufacturer, but it does not fix a cracked hose, failed gasket, or damaged tank. Many manufacturers permit gasoline with a specified ethanol content, often up to the limit listed in the manual.
The key issue is not only the fuel type. Old fuel, water contamination, poor storage, and long periods of sitting can all harm a small-engine fuel system.
When You Can Repair the Leak Yourself
A careful owner may replace an accessible fuel cap, fuel hose, or primer bulb. These repairs still require the correct part, a cool engine, outdoor ventilation, and safe fuel handling.
A professional repair is the better choice when:
- Fuel continues to flow after the engine stops
- The carburetor must be disassembled
- The tank is cracked
- The fuel reaches the muffler or hot cylinder
- The blower has electrical damage from fuel
- You cannot identify the leak
- The model has a complicated diaphragm carburetor
- The engine has been flooded with fuel
- The blower is still under warranty
Do not weld, melt, heat, or drill a fuel tank. Do not use a temporary patch as a permanent repair. Do not bypass a fuel shutoff, vent, or safety part.
The repair cost may exceed the value of an older blower. Ask for an estimate before authorizing carburetor or tank work. A replacement may make more sense when several parts are brittle or the engine has other faults.

How to Prevent a Leaf Blower From Leaking Gas Again
Good storage reduces the chance of a repeat leak.
- Use the fuel and oil mix listed in the manual.
- Keep fuel in an approved, sealed container.
- Avoid filling the blower to the tank opening.
- Wipe spilled fuel from the tank before starting.
- Inspect hoses and the primer bulb at the start of each season.
- Store the blower in the position listed by the manufacturer.
- Keep it away from direct sun and high heat.
- Follow the manual’s instructions for seasonal storage.
- Use fuel stabilizer only as directed on its label.
- Do not leave old mixed fuel in the tank for long periods.
- Replace fuel-system parts that show cracks or hardening.
- Keep the air filter and engine area free of fuel and debris.
If the blower will sit unused for an extended period, the manual may direct you to drain the tank and run the engine until it stops, or to use a specific storage method. Follow the model-specific instructions because procedures differ.

Key Takeaways
- A leaking leaf blower is usually caused by a bad cap, hose, primer bulb, carburetor part, tank, or overfilled fuel system.
- Stop the engine and move the blower outdoors before checking it.
- Find the highest fresh wet spot instead of guessing from the puddle below.
- Replace cracked fuel parts with fuel-rated parts made for the model.
- Do not run a leaking blower, patch a fuel tank with household products, or test it near a flame.
- Seek professional service when fuel flows freely, the tank is damaged, or the leak source is unclear.
Frequently Asked Questions
Why is my leaf blower leaking gas when it is not running?
A stuck carburetor inlet needle, damaged fuel line, cracked primer bulb, bad gasket, or poor fuel-cap seal can allow fuel to escape while the engine is off. A full tank and warm storage area can also push fuel through the vent.
Why does gas come out of the air filter on my leaf blower?
Fuel coming from the air-filter side usually points to carburetor flooding. The inlet needle may be stuck open, or a diaphragm, gasket, or metering part may have failed. Do not run the engine until the cause is repaired.
Can I use a leaf blower if it only leaks a little gas?
No. A small leak can grow with heat and vibration. Fuel may reach the muffler or other hot parts. Repair the leak before using the blower.
Is it safe to store a gas leaf blower with fuel in it?
Storage depends on the manufacturer’s instructions, fuel age, and storage period. Use fresh fuel, keep the blower in the approved position, and follow the manual’s seasonal-storage procedure. Never store it near a flame, furnace, water heater, or other ignition source.
Why does my leaf blower leak gas after I add fuel?
The tank may be overfilled, the cap may not seal, or fuel may have spilled onto the tank and housing. Let the blower cool, wipe it clean, and inspect the cap and tank. If fresh fuel returns without more fuel being added, the fuel system needs repair.
Can ethanol fuel make a leaf blower leak?
Ethanol fuel can contribute to deterioration of some older hoses, bulbs, seals, and gaskets. It can also absorb moisture when stored poorly. Use only the fuel type and ethanol limit stated in the owner’s manual, and replace damaged parts rather than trying to treat the leak with an additive.
Conclusion
The safest answer to “why is my leaf blower leaking gas?” starts with the leak location. Check the cap, tank, hoses, primer bulb, and carburetor in that order. Stop using the blower until the fuel system is dry, the failed part is replaced, and a careful outdoor inspection shows no new leak.
For model-specific fuel ratios, hose routing, storage position, and repair steps, use the owner’s manual. For a steady leak, cracked tank, carburetor failure, or uncertain diagnosis, have a qualified small-engine technician service the blower.
Safety and reference resources
- U.S. Consumer Product Safety Commission
- U.S. Environmental Protection Agency: Nonroad Engines and Vehicles
- OSHA: Flammable Liquids
- The owner’s manual and service documentation for the exact leaf blower model