
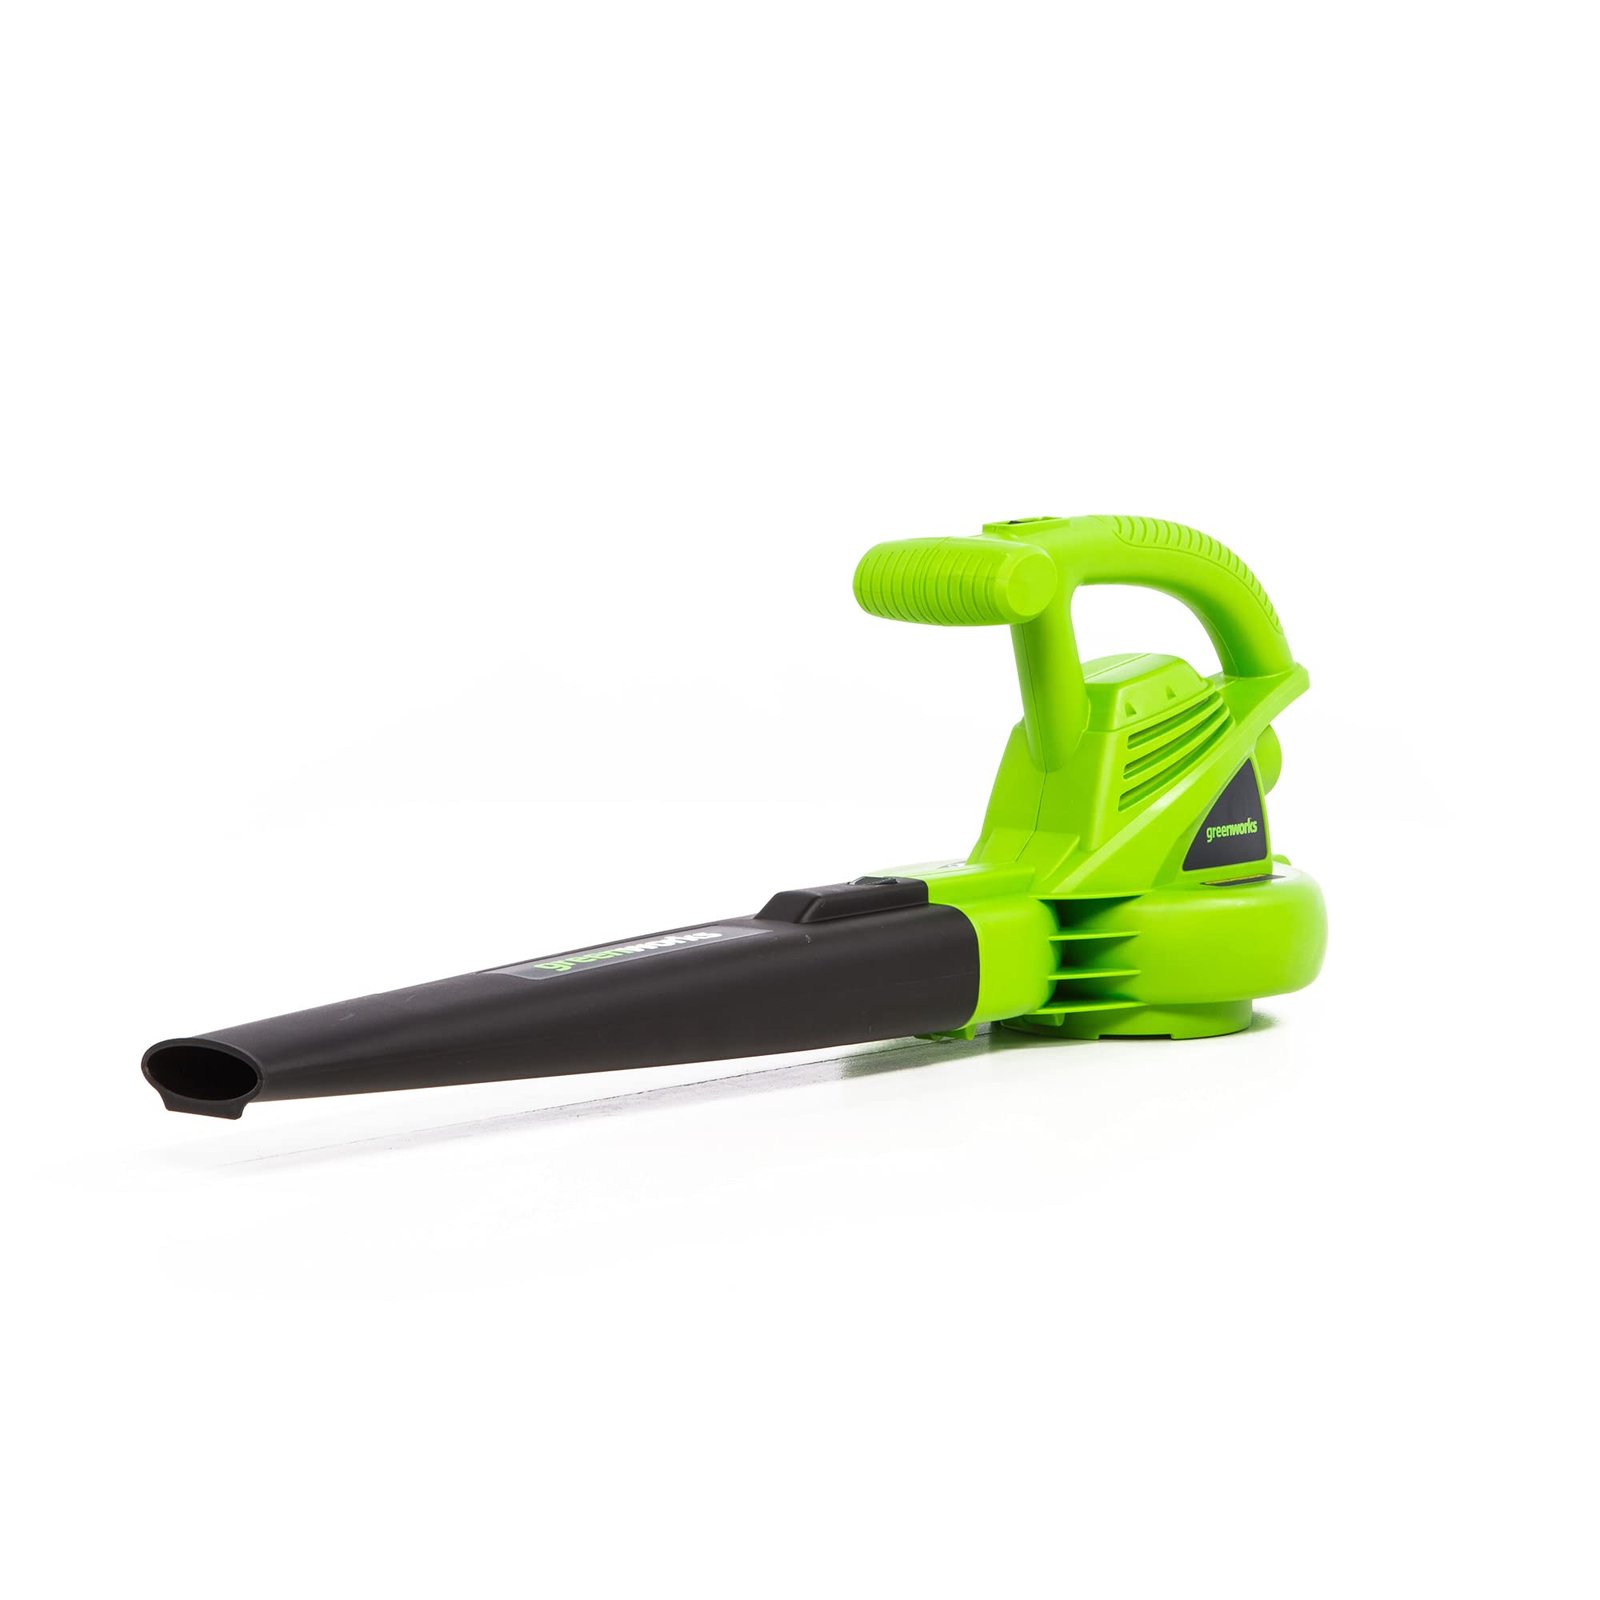
Wet leaves are heavier, stick together, and cling to grass, pavement, and soil. You can still move them with a leaf blower, but the job takes the right timing, air setting, and work pattern.
For the best result, wait until the leaves are damp rather than soaked. Use a high-airflow blower, keep the nozzle close to the ground, work in small sections, and push leaves toward a dry collection area. Do not use the blower in rain, near standing water, or with a damaged power cord.

What You Need Before Blowing Wet Leaves
You need a suitable blower, basic safety gear, and a clear plan before you start. A blower with strong airflow works better than one with only a high air-speed rating.
Leaf blower
Check the owner’s manual before use. Some blowers also work as vacuums or mulchers, but wet leaves may clog the tube or damage parts. Use the vacuum function only when the manufacturer says it can handle damp material.
The most useful blower features include:
- A variable-speed trigger or control
- A wide nozzle for moving broad piles
- A narrow nozzle for stuck leaves
- Enough battery charge or fuel for the full job
- A clean air filter and intake
- A dry, undamaged power cord for corded models
Air speed helps break apart stuck leaves. Air volume helps move a large amount of material. For wet leaves, air volume often matters more because damp leaves form heavy mats.
Safety gear
Wear:
- Safety glasses or a face shield
- Hearing protection
- Work gloves
- Long pants and closed-toe shoes
- A dust mask if dry dirt, mold, or leaf dust rises
The U.S. Consumer Product Safety Commission advises users to wear eye and hearing protection and keep people away from the work area. Follow the specific safety directions in your blower manual as well.
A dry place for the leaves
Choose the final spot before you begin. Good choices include:
- A compost pile
- A yard-waste bin
- A tarp for later hauling
- A designated leaf pile away from drains
- A garden bed where the leaves will be used as mulch
Do not push leaves into streets, storm drains, streams, or other waterways. Leaves can block drains and add excess nutrients to water.
Weather and surface check
The best time to blow wet leaves is after rain has stopped and excess water has drained. A short wait can make a large difference. Leaves that are damp on the surface but not waterlogged are much easier to move.
Avoid blowing leaves when:
- Rain is still falling
- Water is pooled on the ground
- Wind can carry leaves onto roads or nearby property
- The ground is icy or too slippery to stand safely
- A corded blower may contact water
- You cannot see hidden rocks, sticks, or other debris

Step-by-Step: How to Blow Wet Leaves
The most effective method is to dry, loosen, and move the leaves in stages. Trying to force one large, soaked pile across the yard usually wastes time.
1. Clear the work area
Remove toys, hoses, tools, and loose objects. Check for stones, sticks, glass, and other debris that the air stream could launch.
Close windows and doors near the work area. Keep children, pets, and bystanders away until the job is complete.
2. Let the leaves drain and dry
If possible, wait several hours after rain. Sun and light wind can reduce surface moisture. You do not need the leaves to become fully dry, but they should not drip when you move them.
If leaves sit on a paved surface, spread them into a thin layer first. A thin layer dries faster than a deep pile.
3. Start at the outside edge
Do not aim at the center of a large, wet pile. Begin at the outer edge and move a small group of leaves at a time.
Hold the nozzle about 2 to 4 inches above the ground. Use a shallow angle. This lets the air slide under the leaves and separate them without blasting them into the air.
4. Use short bursts of air
Start with a medium setting. Use short bursts to loosen leaves that are stuck to the ground. Increase power only when the leaves begin to move.
A steady blast at full power can scatter leaves in every direction. It can also lift dirt, gravel, and mulch. Controlled bursts give you more control and reduce cleanup.
5. Move leaves in stages
Create a small windrow rather than one huge pile. A windrow is a long, narrow line of leaves.
Work in this order:
- Push leaves from the outer edge toward the windrow.
- Move along the windrow in the same direction.
- Add more leaves only when the current group is under control.
- Push the windrow toward the final collection point.
- Place a tarp or bin at the end if you need to haul the leaves.
This method keeps the leaves together and reduces the distance they must travel.
6. Change the nozzle angle for stuck leaves
For leaves stuck to concrete or asphalt, lower the nozzle slightly and sweep it from side to side. Do not press the nozzle against the ground.
For leaves stuck in grass, raise the nozzle a little. Blowing too close can strip loose soil, damage tender grass, or scatter mulch.
For wet leaves packed into corners, use a rake or broom first. A blower is not always the best tool for breaking a dense, muddy mat.
7. Finish with a lower setting
Use a lower air setting near flower beds, fences, doorways, and collection bins. This helps prevent leaves from bouncing out of the pile.
If a few leaves remain, pick them up by hand or use a rake. Chasing every leaf with high power often spreads more leaves than it collects.
Signs the method is working
The process is going well when:
- Leaves move in a steady line
- The blower does not need full power
- Dirt and mulch stay in place
- The pile grows in the planned area
- Leaves do not return with every gust
If leaves only slide a few inches or form a heavy sheet, stop and let them dry longer. More power may not solve a moisture problem.

Best Blower Settings for Damp and Soaked Leaves
Use the lowest setting that moves the leaves. The correct setting depends on moisture, surface, leaf type, and wind.
| Condition | Suggested approach | Why it helps |
|---|---|---|
| Lightly damp leaves on pavement | Medium power, nozzle 2–4 inches above the surface | Moves leaves without scattering grit |
| Damp leaves on grass | Medium power, nozzle slightly higher | Protects grass and soil |
| Wet leaves stuck to concrete | Short bursts, low angle | Breaks the seal under the leaves |
| Heavy leaf mats | Let them dry, then rake and blow | Reduces clogging and wasted power |
| Leaves near mulch or gravel | Low power and wider nozzle | Limits movement of loose material |
| Large yard with many leaves | Work in windrows | Reduces repeated passes |
| Strong natural wind | Blow with the wind when possible | Uses less power and improves control |
Air speed versus air volume
Air speed is the speed of the air leaving the nozzle. It helps loosen leaves and clean narrow gaps.
Air volume is the amount of air the blower moves over time. It helps carry leaves across a surface and build a pile.
Manufacturers may list these values in miles per hour and cubic feet per minute. These figures are measured under stated test conditions and do not guarantee the same result in a wet yard. Nozzle shape, battery charge, filter condition, leaf type, and wind all affect real use.
Battery, gas, and corded blowers
A battery blower can work well for small areas if the battery is charged and the blower maintains power under load. Cold weather and repeated use can reduce battery runtime.
A gas blower may provide longer work time and strong airflow, but it needs fuel, ventilation, and regular maintenance. Use gas equipment outdoors only. Never run it in a garage, shed, or other enclosed space because of carbon monoxide risk.
A corded blower avoids fuel and battery limits, but the cord must stay dry and clear of puddles. Use outdoor-rated equipment and a ground-fault circuit interrupter, commonly called a GFCI, as required by local safety rules and the owner’s manual. Do not use a cord with cuts, crushed areas, exposed wires, or damaged plugs.

What to Do When Wet Leaves Will Not Move
When a blower fails to move wet leaves, moisture and surface contact are usually the main causes. Check the simple and safe causes first.
Leaves form a solid mat
A thick mat may be too heavy for normal blowing. Rake lines through the mat to break it into smaller sections. Then blow each section toward the collection area.
You can also lift part of the mat with a rake and let air pass underneath. This works better than holding the blower at full power over the top.
Leaves stick to concrete
Leaves can cling to rough pavement because water creates surface tension between the leaf layer and the ground. Use short bursts at a low angle. If the surface is safe, a stiff broom can break the bond faster.
Do not use high power near loose sand, gravel, or damaged pavement. The blower may launch small particles.
Leaves are stuck in grass
Wet leaves often settle between grass blades. Raise the nozzle and move slowly across the area. If the leaves remain packed down, use a rake first.
Avoid scraping the nozzle over the lawn. That can pull up soil and damage grass crowns, especially when the ground is soft.
The blower loses power
Stop the machine before inspecting it. Check for:
- A clogged intake
- A dirty air filter
- A blocked tube
- A low battery
- Old or contaminated fuel
- A loose battery connection
- An extension cord that is too long or too light for the tool
Disconnect the battery or unplug the blower before clearing a blockage. For gas models, turn off the engine and follow the manual before touching the tube or fan area.
The leaves keep blowing back
Work with the natural wind when possible. Lower the blower setting and build a narrow windrow. Use a tarp, fence, or other safe barrier to help contain the pile.
Do not blow leaves toward a road, neighboring yard, vehicle, building opening, or storm drain. Change direction and move the collection point if wind makes control unsafe.

Safety Rules for Blowing Wet Leaves
Wet conditions increase slip, electric shock, visibility, and debris risks. Treat the job as outdoor power-equipment work, not as a harmless sweeping task.
Protect your eyes and hearing
Leaf blowers can launch stones, sticks, and other debris. They also produce sound that may damage hearing during repeated or long use. Wear eye protection and hearing protection, even for a small job.
Keep the nozzle pointed away from people, animals, windows, cars, and painted surfaces.
Avoid water and electrical hazards
Never use a corded blower in rain or standing water. Keep the plug, outlet, extension cord connections, and blower housing dry.
Do not operate any blower while standing in water. If the ground is slick, wait for better conditions. A fall while holding powered equipment can cause serious injury.
Use gas blowers only outdoors
Gas engines produce carbon monoxide, an odorless gas that can build up quickly in enclosed spaces. Operate the blower in open air and keep it away from doors, windows, vents, and air intakes.
Let the engine cool before refueling. Store fuel only in an approved container and follow local fire rules.
Be careful around wildlife and hidden objects
Wet leaves can hide stones, wire, animal waste, and small animals. Inspect the area before blowing. Use a rake in dense piles or places where visibility is poor.
Do not direct air under vehicles, porches, or dense shrubs until you know what is there.
Protect the local environment
Leaf piles can block drainage and wash into waterways. Keep collected leaves away from storm drains and moving water. Many U.S. communities also have rules for leaf collection, curb placement, open burning, and yard-waste disposal.
The U.S. Environmental Protection Agency recommends composting suitable yard waste rather than burning it. Check your city, county, or state rules before placing leaves at the curb or burning them.

Common Mistakes to Avoid
Avoid these mistakes if you want faster work and less damage:
- Blowing a soaked pile at full power: Let it drain or dry first.
- Holding the nozzle too close: This can move dirt, mulch, and gravel.
- Starting at the center of the pile: Work from the outside edge.
- Using random directions: Create one planned windrow.
- Ignoring the wind: Blow with it when practical.
- Vacuuming wet leaves without checking the manual: Moisture can clog tubes and damage parts.
- Using a damaged cord: Replace it before use.
- Blowing leaves into the street: Keep yard waste on your property or use approved collection methods.
- Working without eye protection: Small debris can travel farther than expected.
- Trying to remove every leaf with air: A rake or broom is often better for the last few leaves.
Should You Blow, Rake, or Mulch Wet Leaves?
Use a blower for loose leaves, a rake for packed leaves, and a mower or mulcher only when the equipment manual and lawn conditions allow it.
| Tool | Best use | Main limit |
|---|---|---|
| Leaf blower | Moving loose or partly dry leaves | Performs poorly on heavy mats |
| Leaf rake | Breaking and lifting wet leaf layers | Takes more physical effort |
| Lawn mower with mulch setting | Cutting dry or lightly damp leaves into smaller pieces | Wet material may clump or clog |
| Tarp | Hauling large amounts of leaves | Needs room to pull safely |
| Yard-waste bin | Small, controlled loads | Requires repeated emptying |
Never leave a thick layer of wet leaves on grass for long periods. Dense leaf cover can block light and air. It may also create a slick walking surface. Move the leaves to compost, an approved yard-waste site, or another suitable location.

Frequently Asked Questions
Can you blow leaves when they are wet?
Yes, but damp leaves are easier to move than soaked leaves. Wait until rain stops and surface water drains. Use short bursts, small sections, and a low nozzle angle.
What is the best leaf blower for wet leaves?
A blower with strong air volume, variable speed, and a controllable nozzle is usually more useful than one chosen only for its maximum air-speed number. The best type also depends on yard size, access to power, noise limits, and whether you need a battery, gas, or corded model.
Can a leaf blower pick up wet leaves?
Some blower-vacuum models can pick up damp leaves, but wet material may clog the tube or form heavy clumps in the bag. Check the owner’s manual before using the vacuum or mulching function.
How long should wet leaves dry before blowing?
There is no fixed time because temperature, sun, wind, leaf depth, and surface all matter. A thin layer may become workable after several hours of drying. A deep pile may need longer. Test a small section first.
Can you blow wet leaves off grass?
Yes. Raise the nozzle slightly, use moderate power, and move slowly. If leaves are packed into the grass, loosen them with a rake before using the blower.
Conclusion
To blow wet leaves well, wait for the leaves to drain, clear the area, and work in small sections. Use controlled air rather than maximum power. Start at the outer edge, form a windrow, and move the leaves toward a planned collection point.
If the leaves form a solid mat, switch to a rake and let them dry. Wear eye and hearing protection, keep powered tools away from water, and follow the instructions for your specific blower.